

Malted barley is needed to make beer and it’s very cheap to buy. So why would anyone attempt to malt their own?
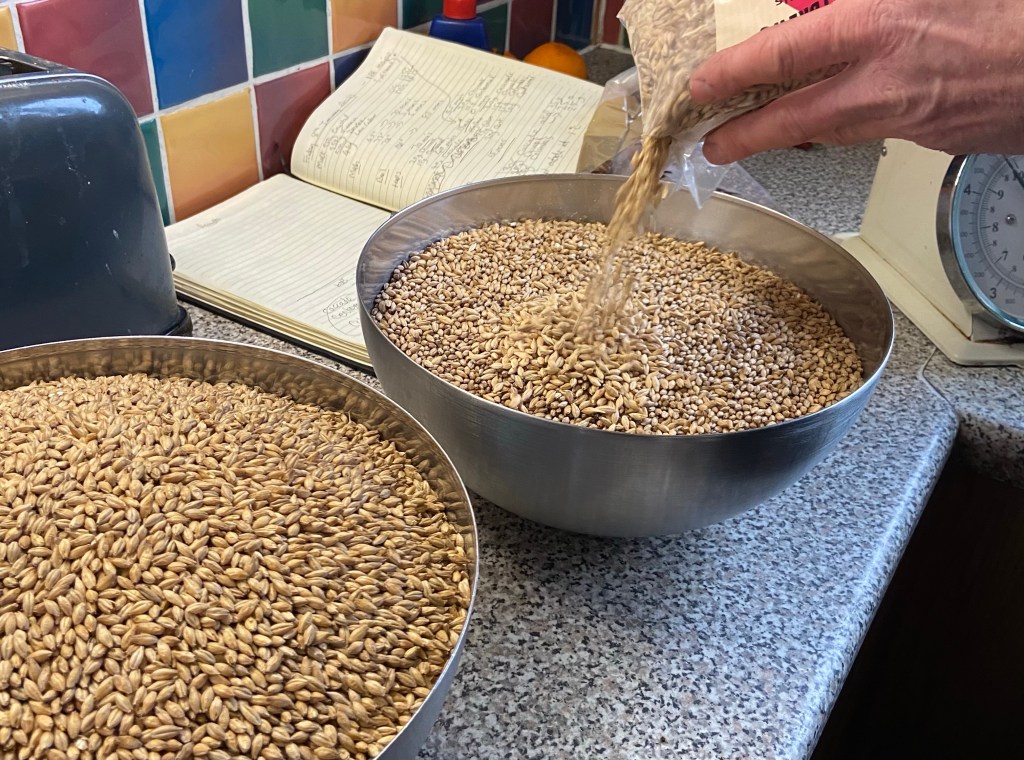
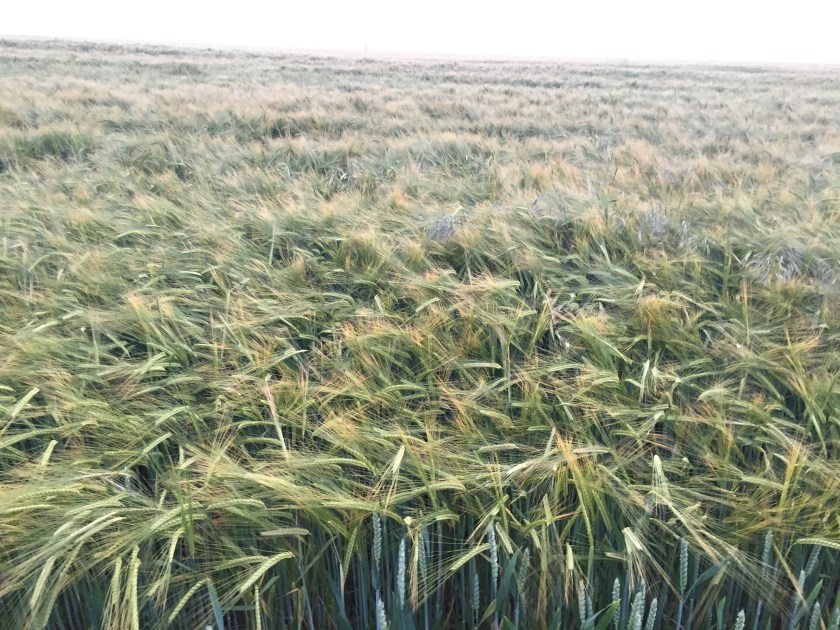
Well in September 2020, 10 kilos of raw barley landed at my doorstep courtesy of my local farmer Henry. He’d always grown cereal barley but that year he’d planted a spring malting barley called Planet. Having heard about our brewing exploits from a mutual friend he gladly donated the grain in exchange for a few bottles of the eventual ale.
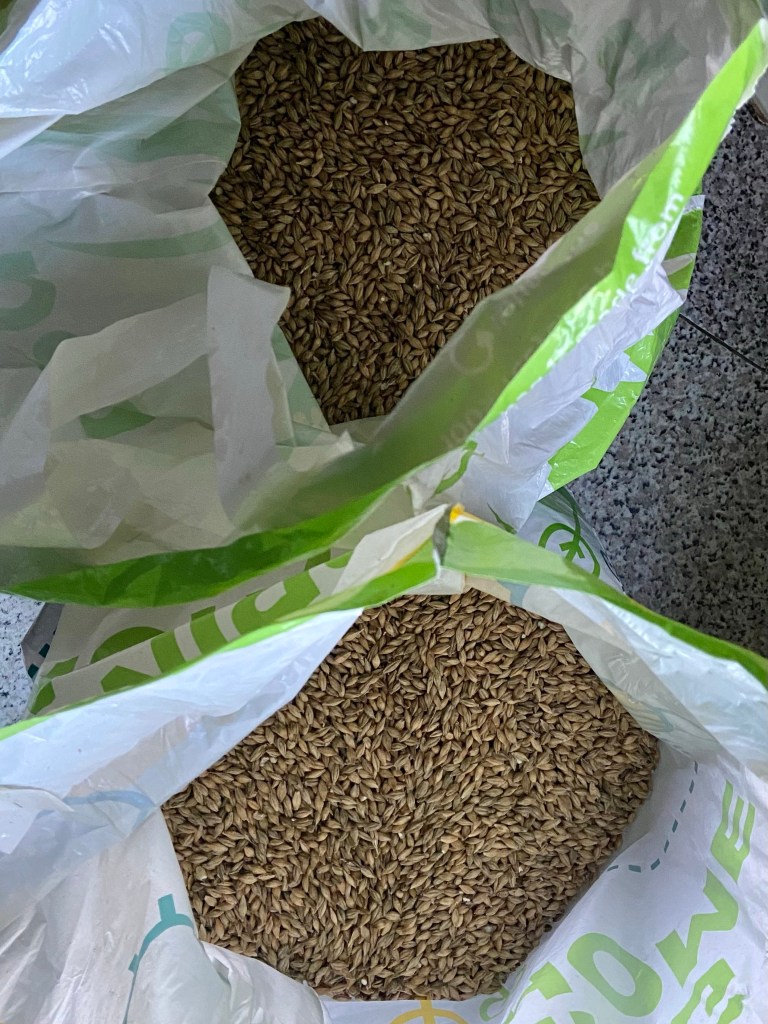
Barley has to be ‘malted’ in order to create beer, the process is fairly simple though time consuming. Firstly you allow the barley grains to germinate by soaking them in water for eight hours then allowing them to dry at around 60 degrees C, though keeping them moist. The next day repeat the process.
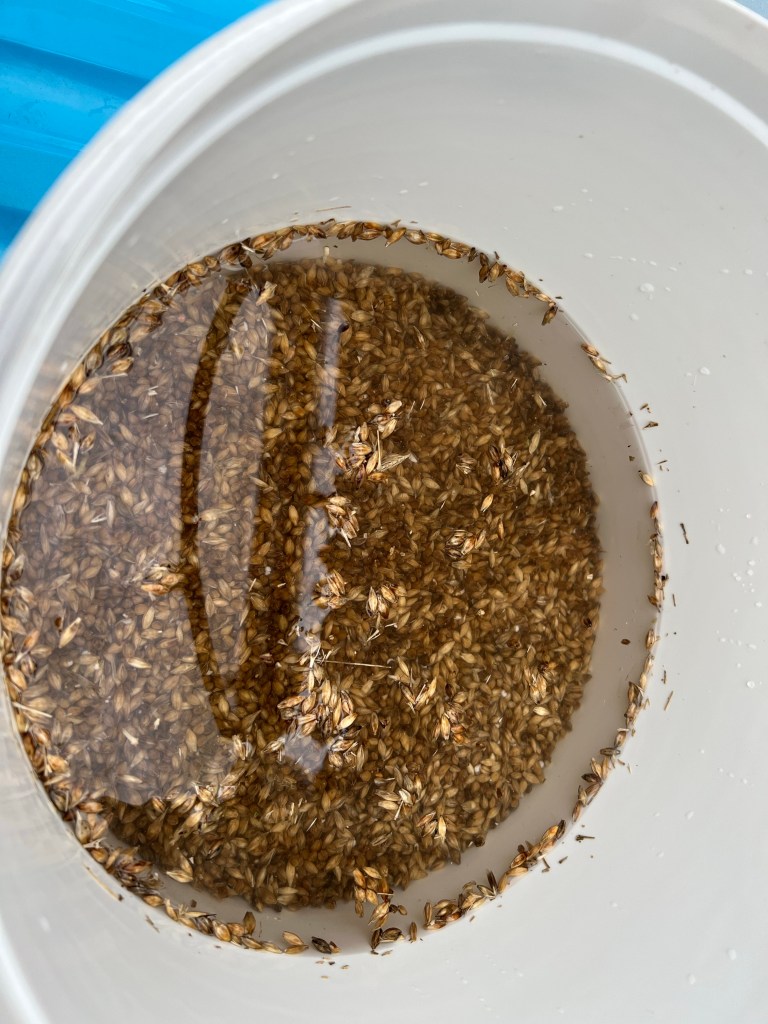
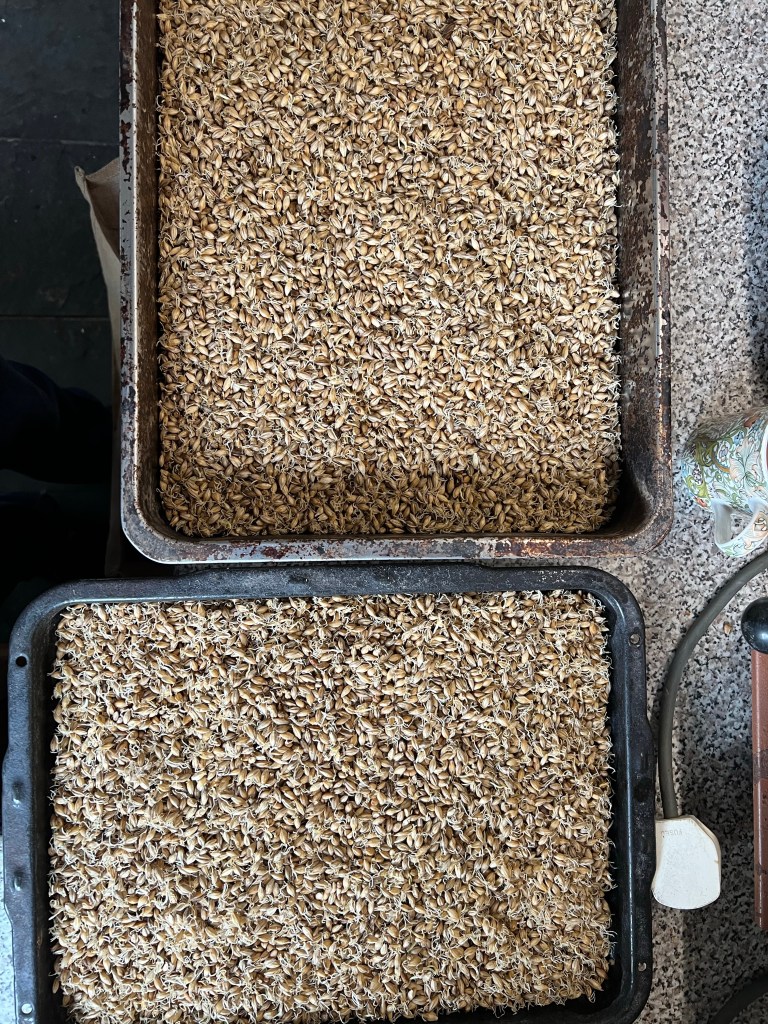
The grains will show the start of tiny roots after the second soaking and now they must be spread out to dry evenly but sprayed periodically with water so they don’t completely dry out.
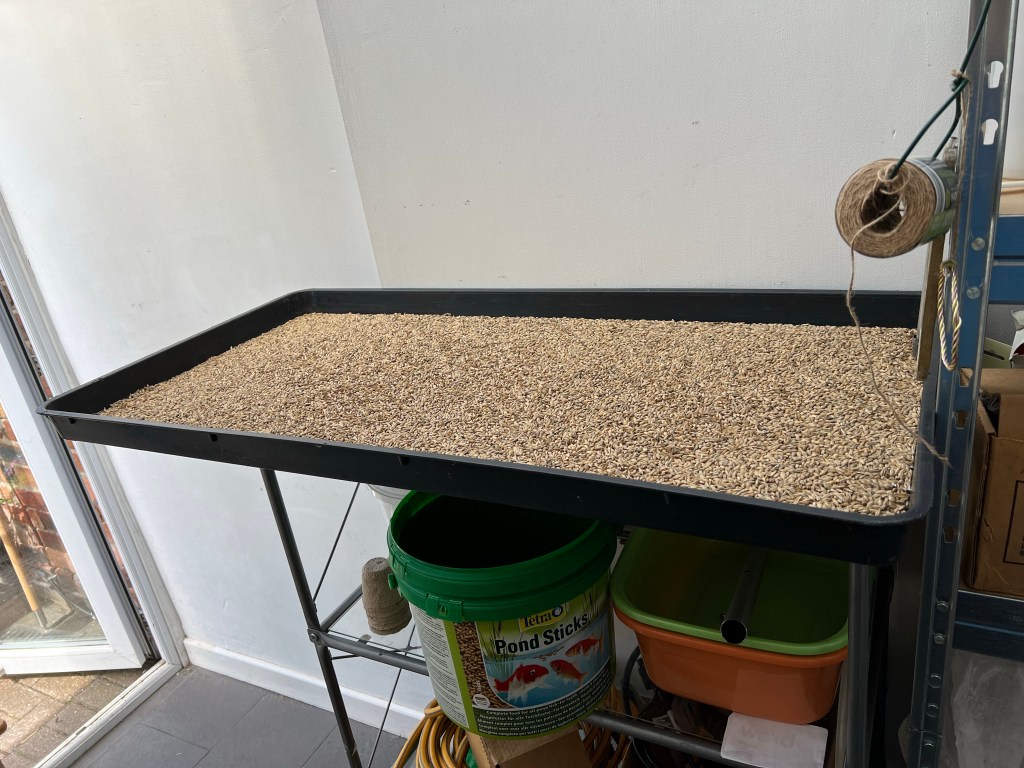
It’s also important to turn the grains every four hours and to continue spraying with the water. It takes between two and five days after the first sign of roots for them to finish germinating.
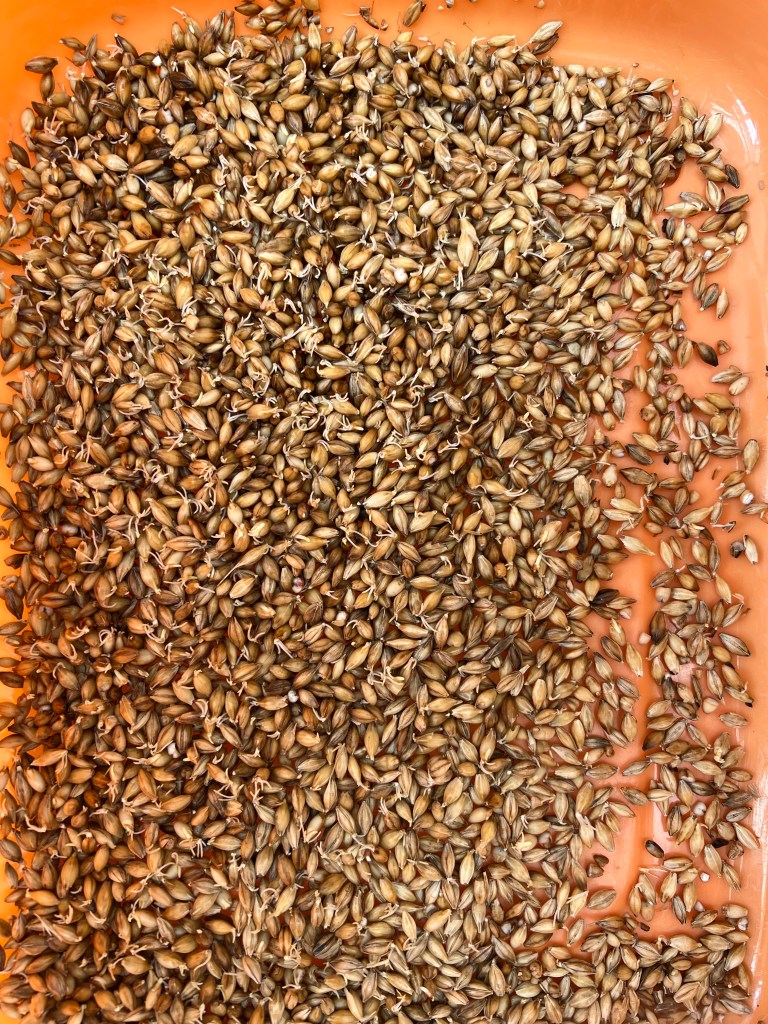
Inside the grain a tiny shoot is growing which generates enzymes the brewer needs to convert starch into sugar.
Once the shoot is three quarters the length of the grain it is time to halt the germination as the enzymes are at their peak.
The grain needs to be dehydrated so I put them in a slow oven – ideally between 90 & 120 degrees Fahrenheit but I couldn’t regulate mine so they were in at 190 degrees Fahrenheit for 24 hours.
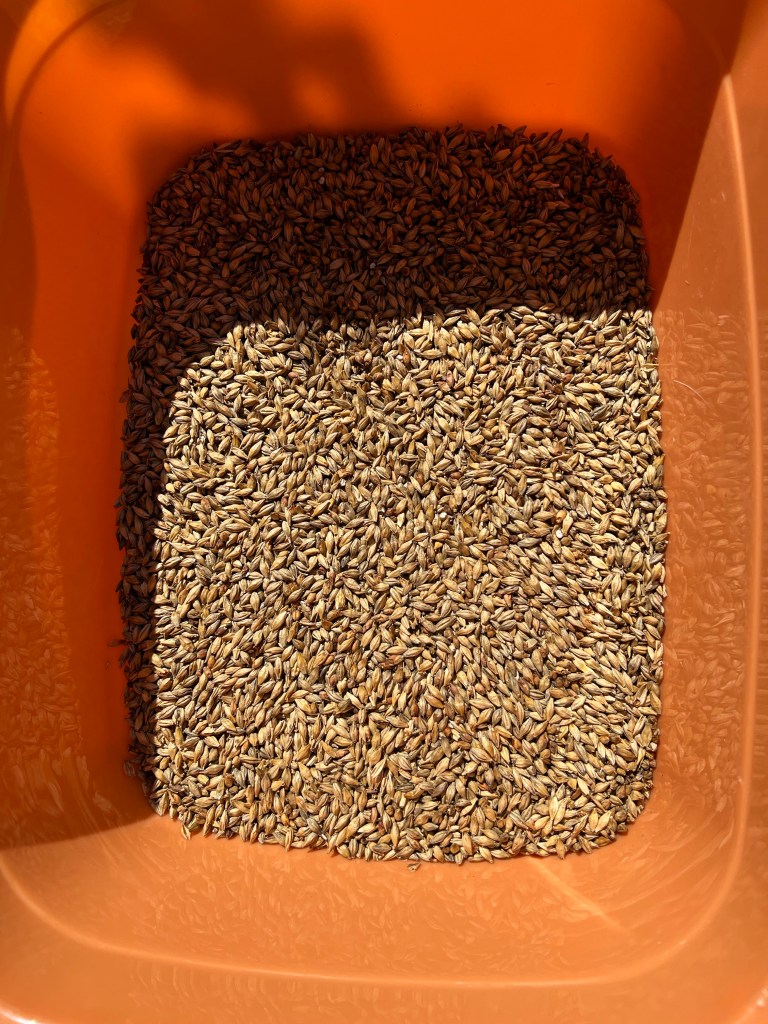
This resulted in a more amber malt as opposed to the pale malt I was expecting.
I repeated the process over the next few weeks till I had malted 4.9 kilos.
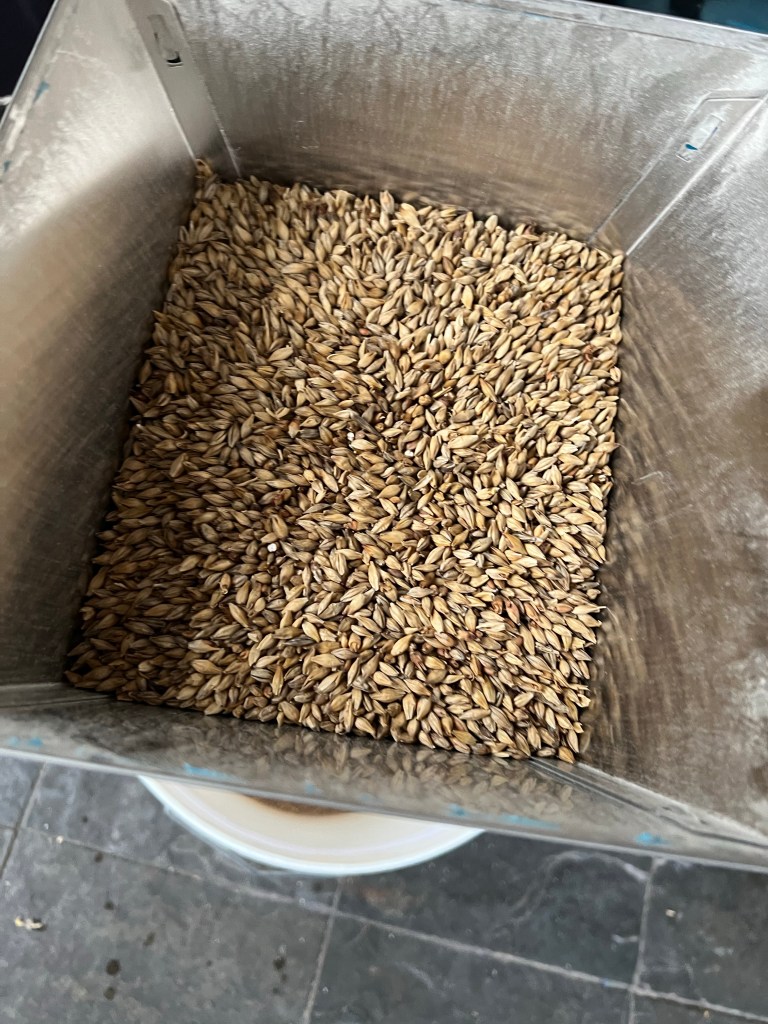
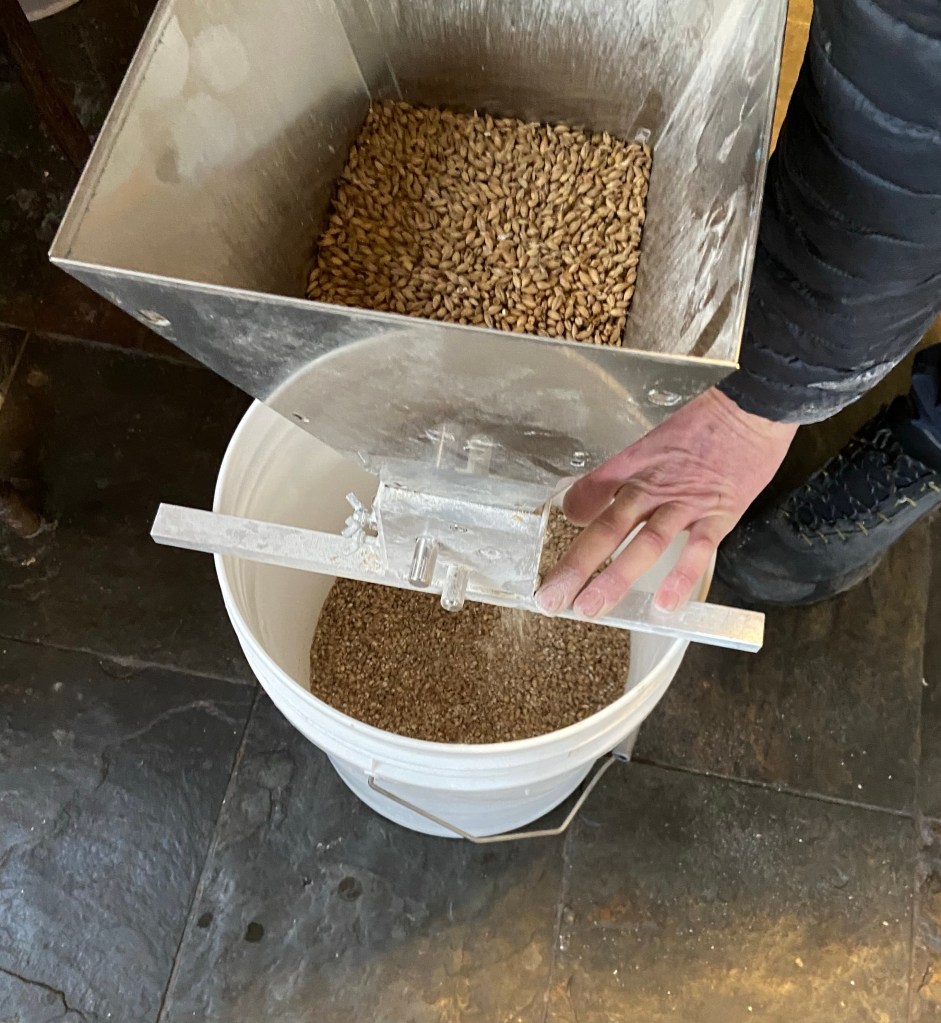
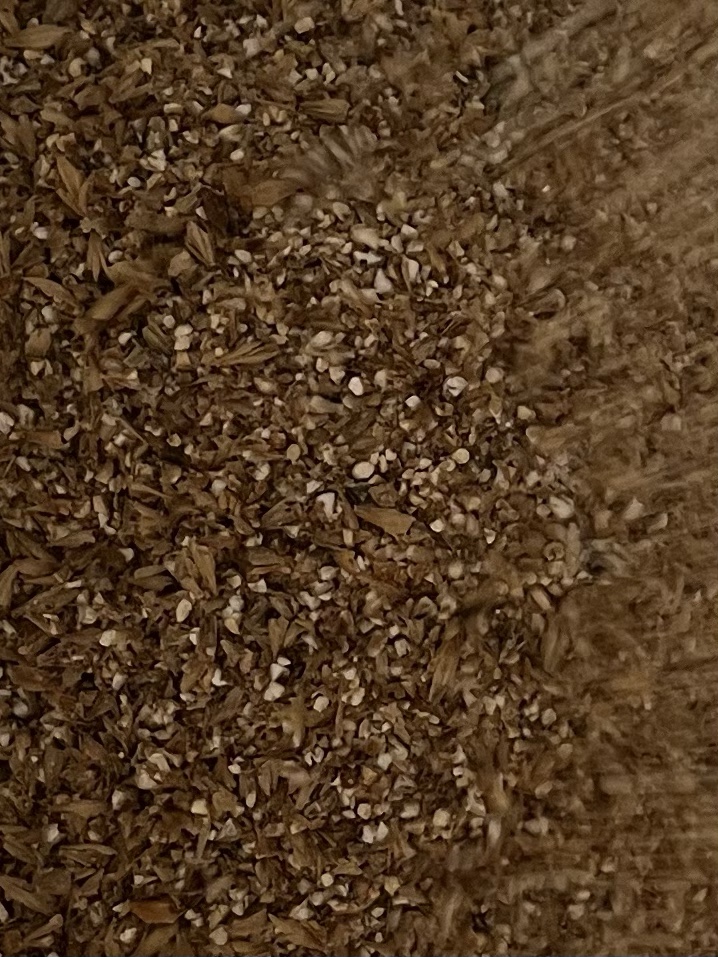
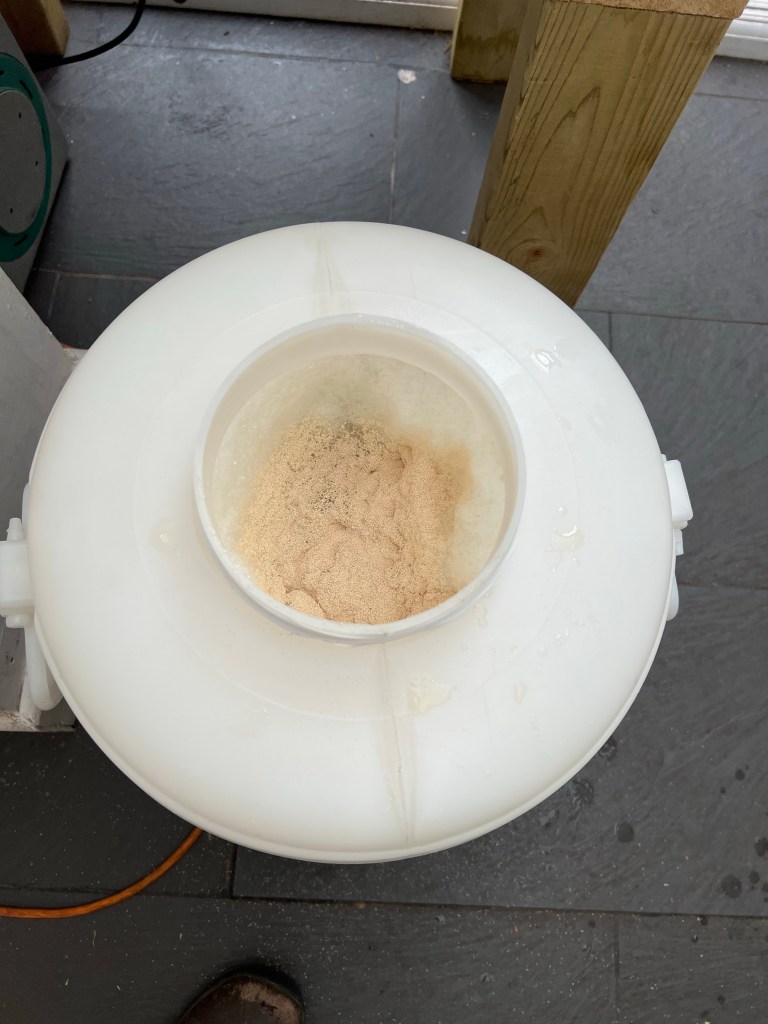
We’re using a traditional bitter recipe to make the beer but first we have to crush the grain…
The husks have to be milled so the starch can be extracted in the mash.
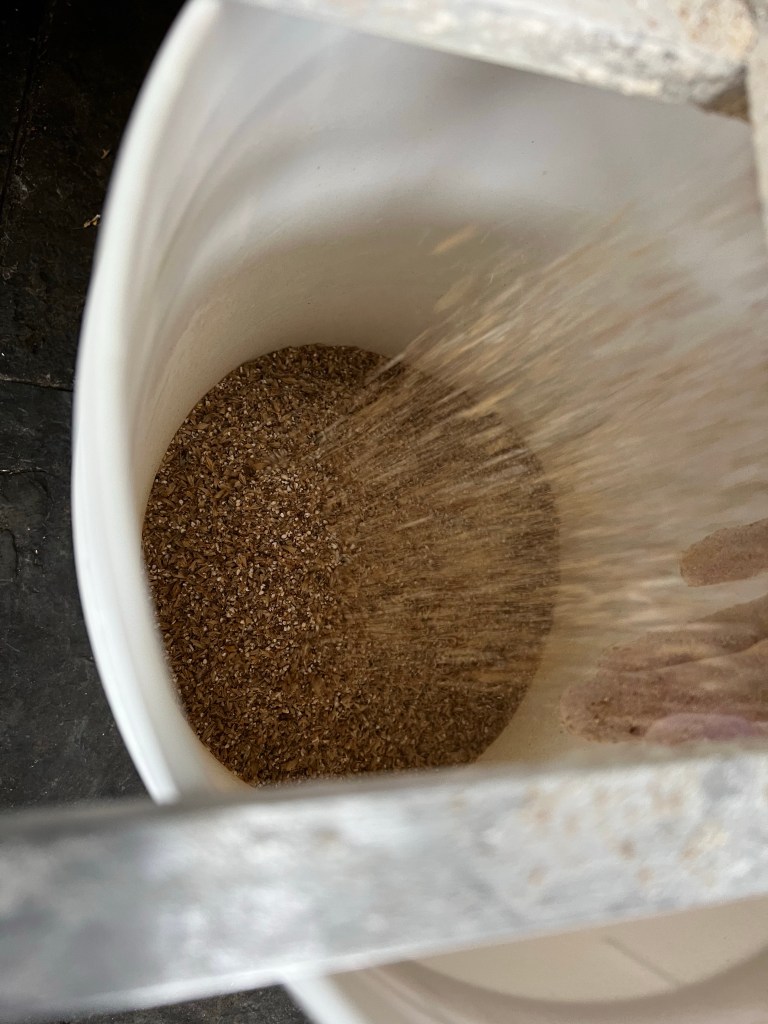
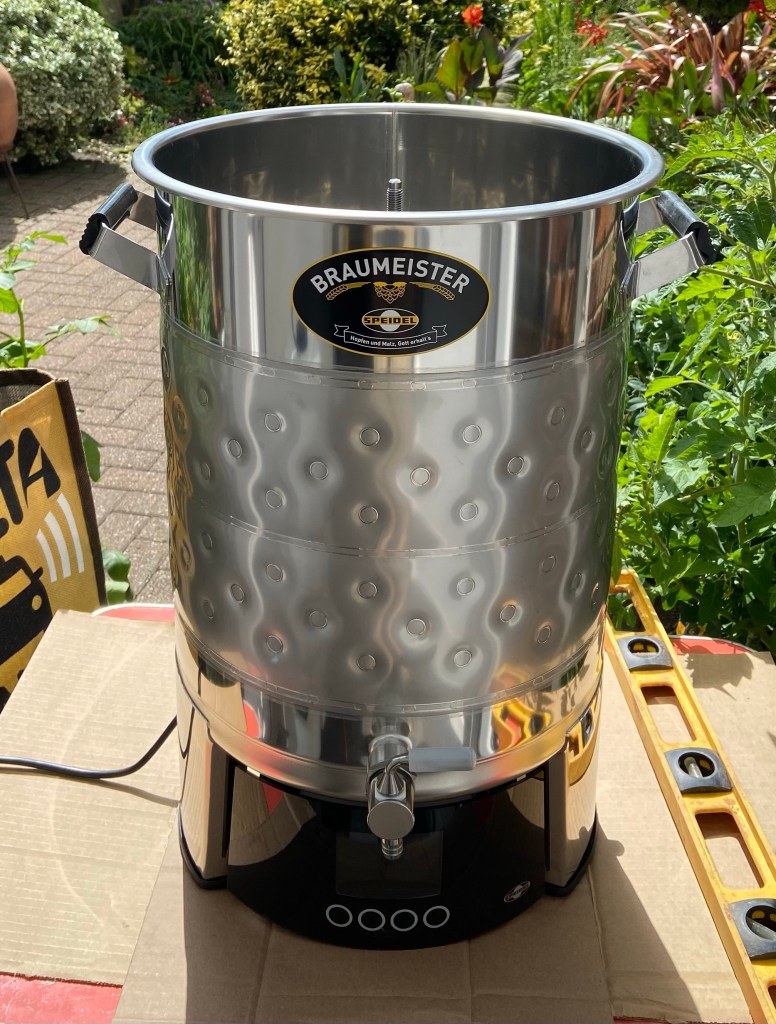
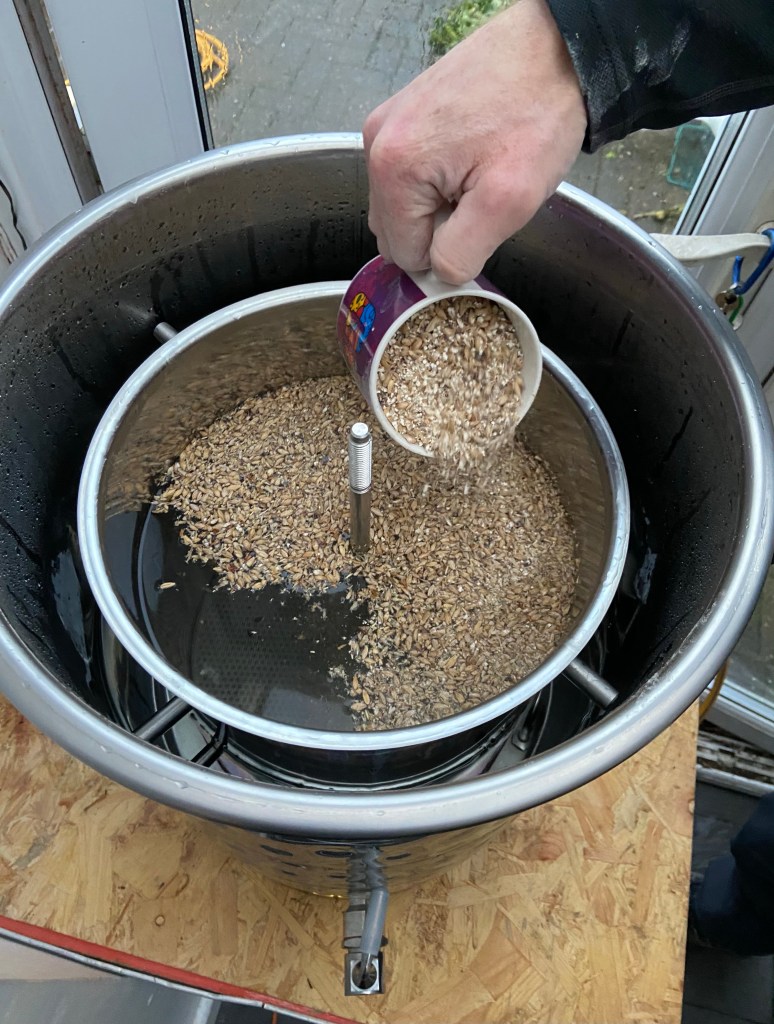
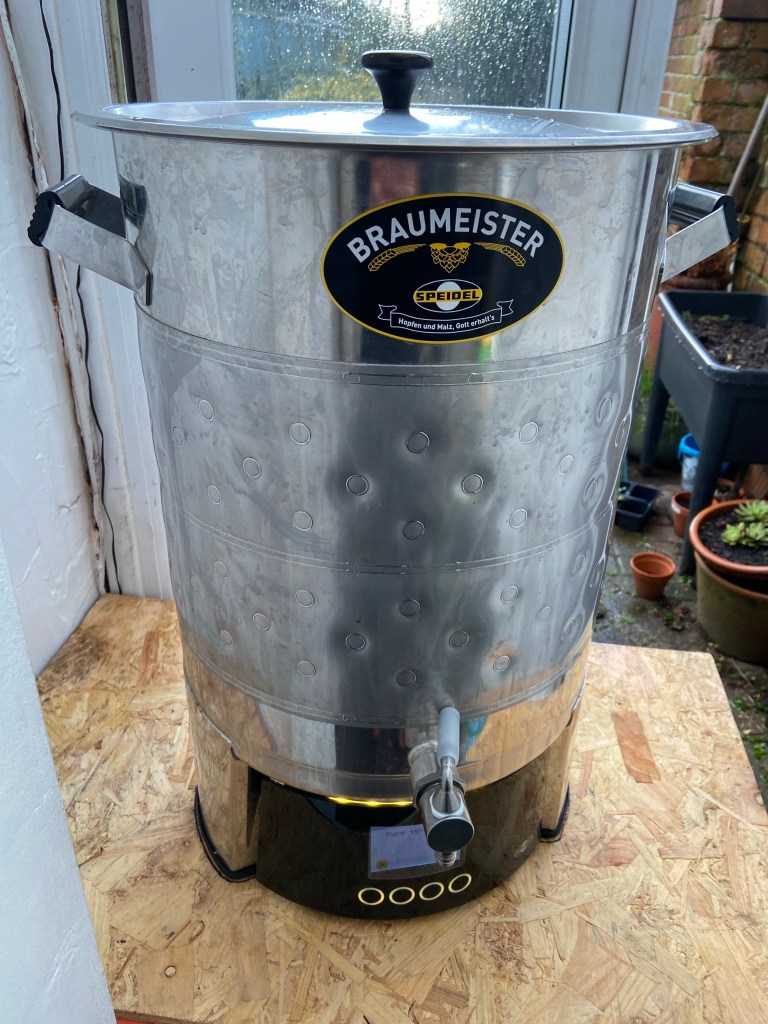
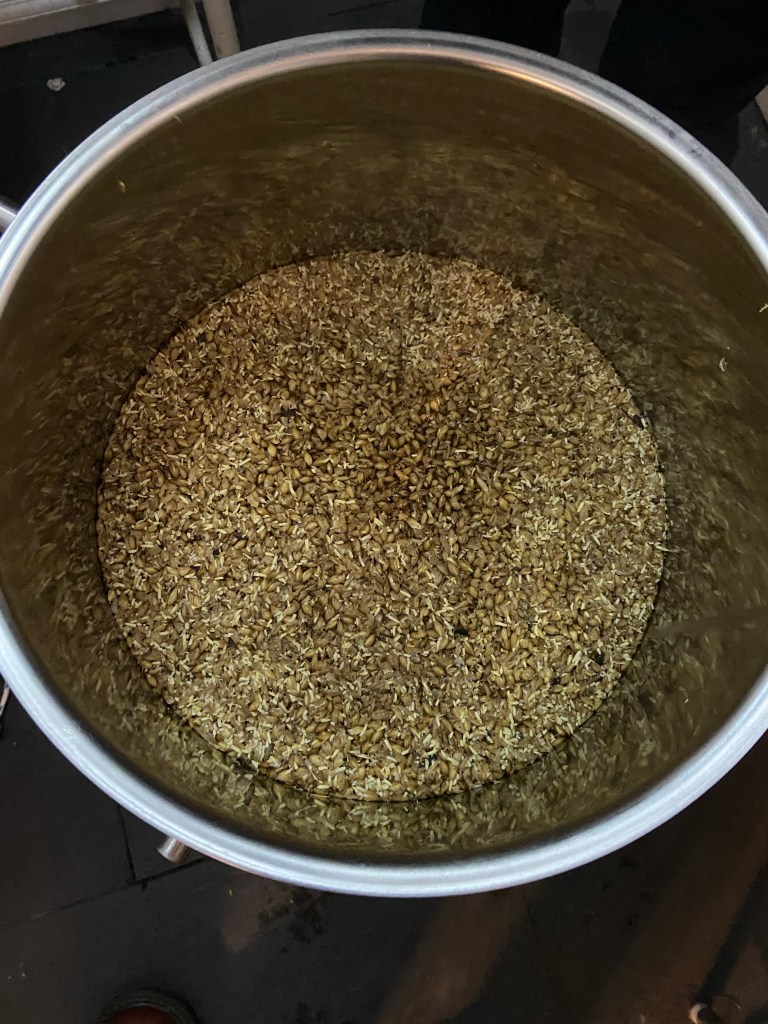
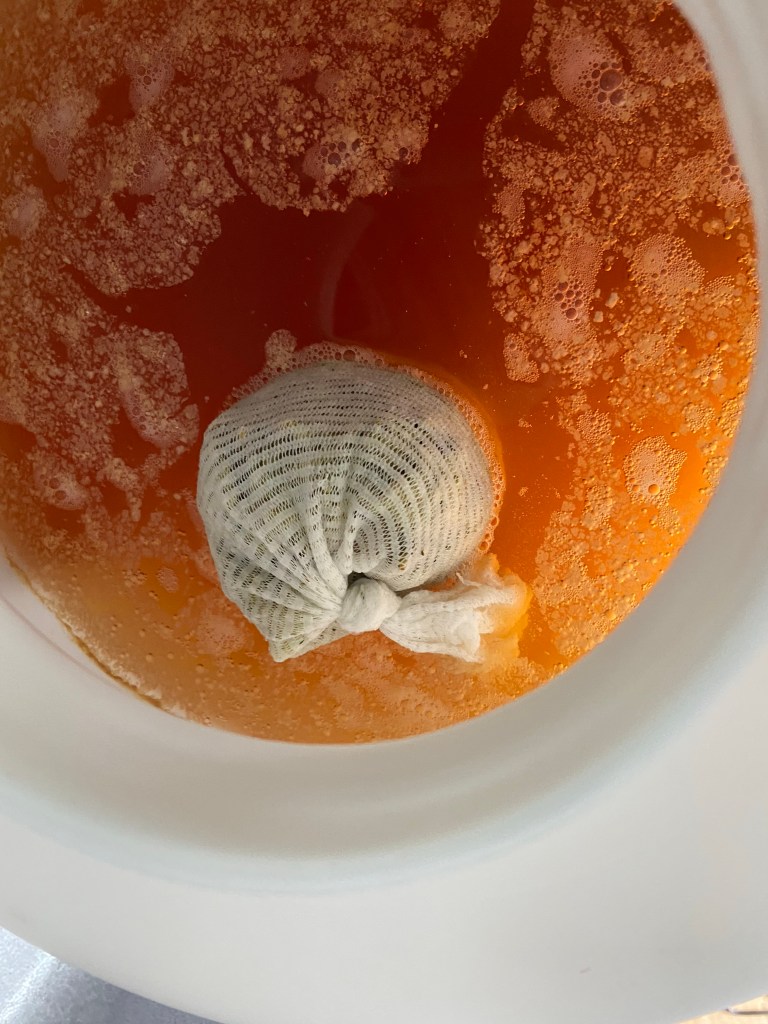
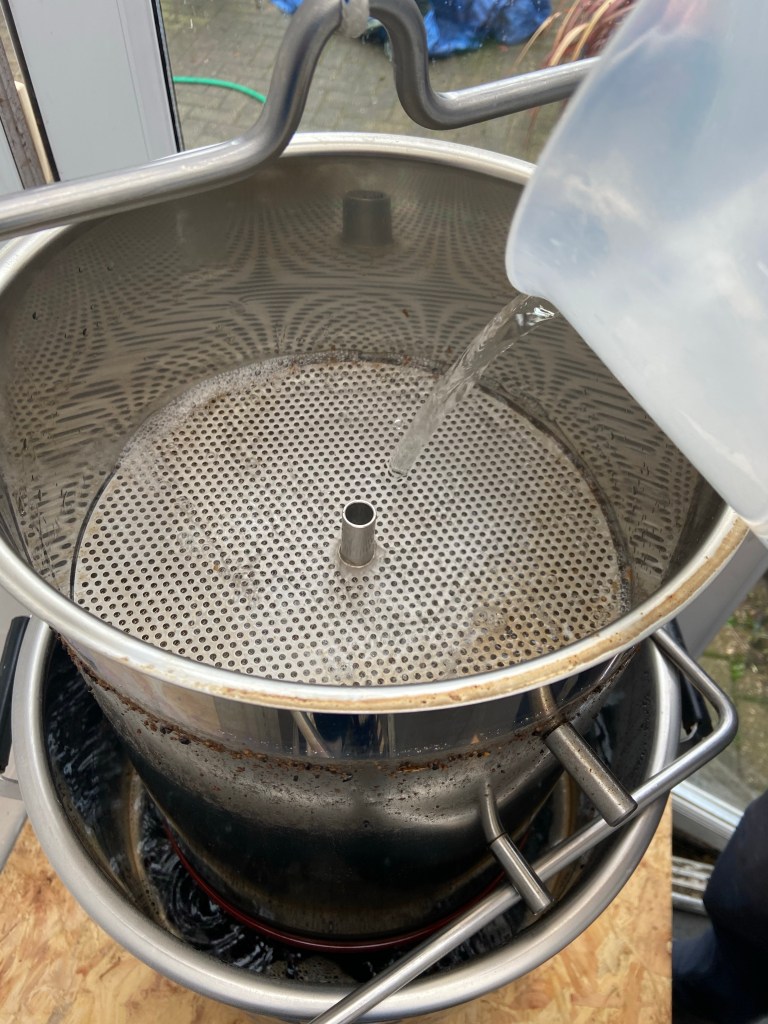
We then add it to the malt pipe which sits inside the kettle, stirring so there are no clumps.
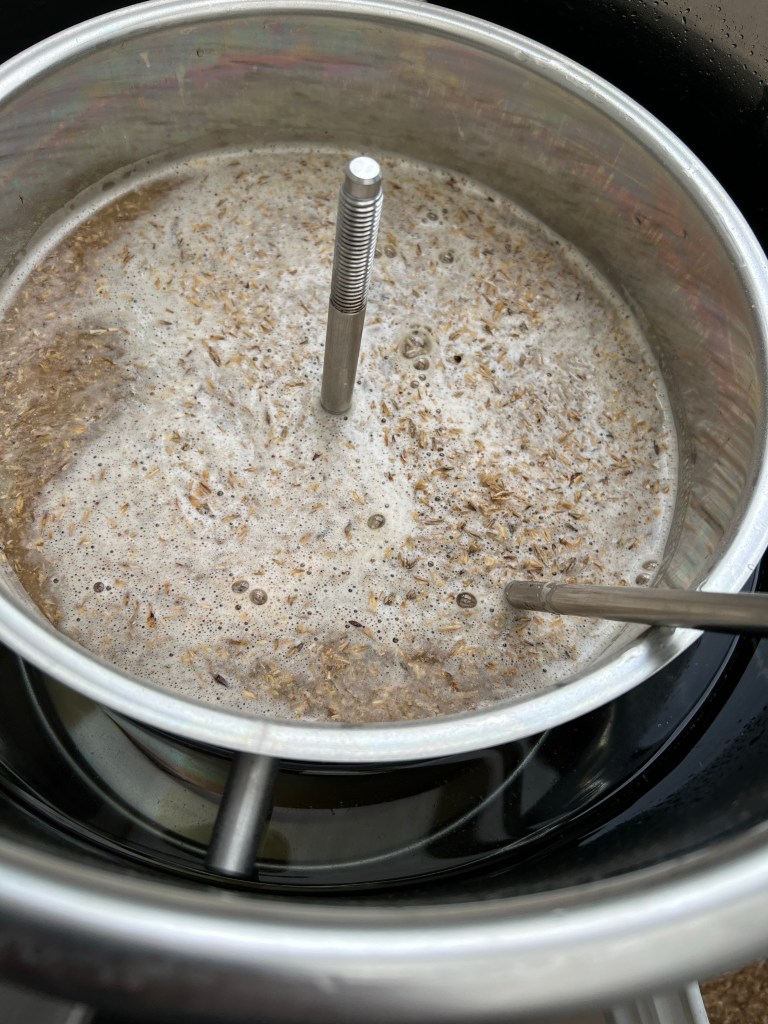
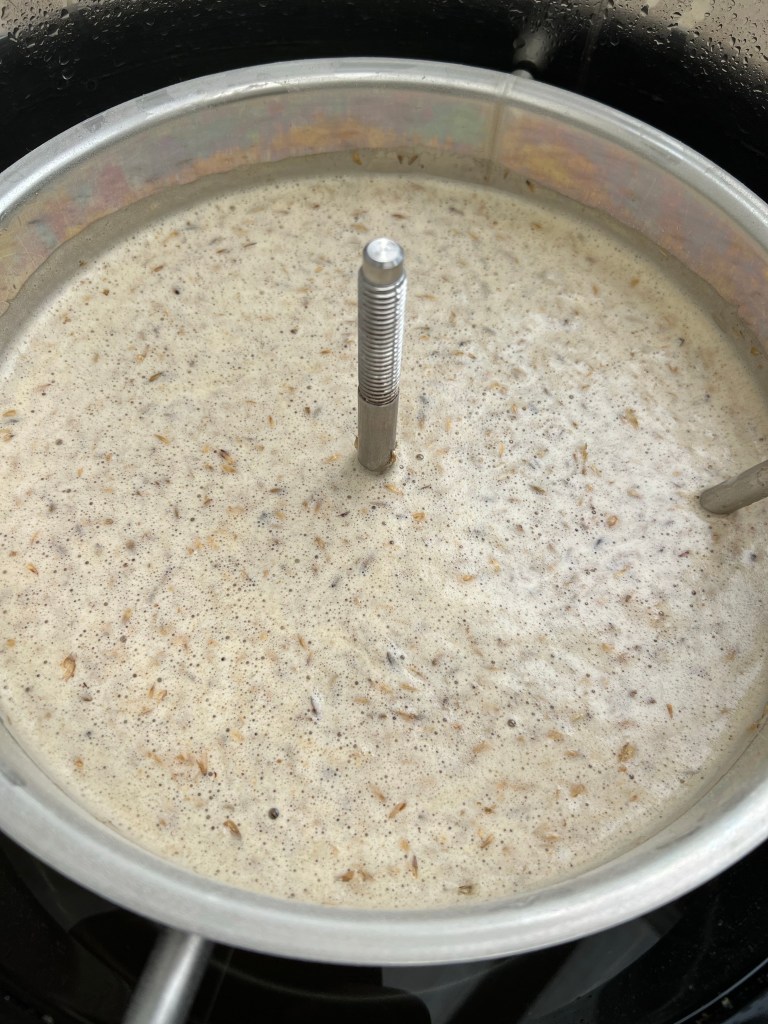
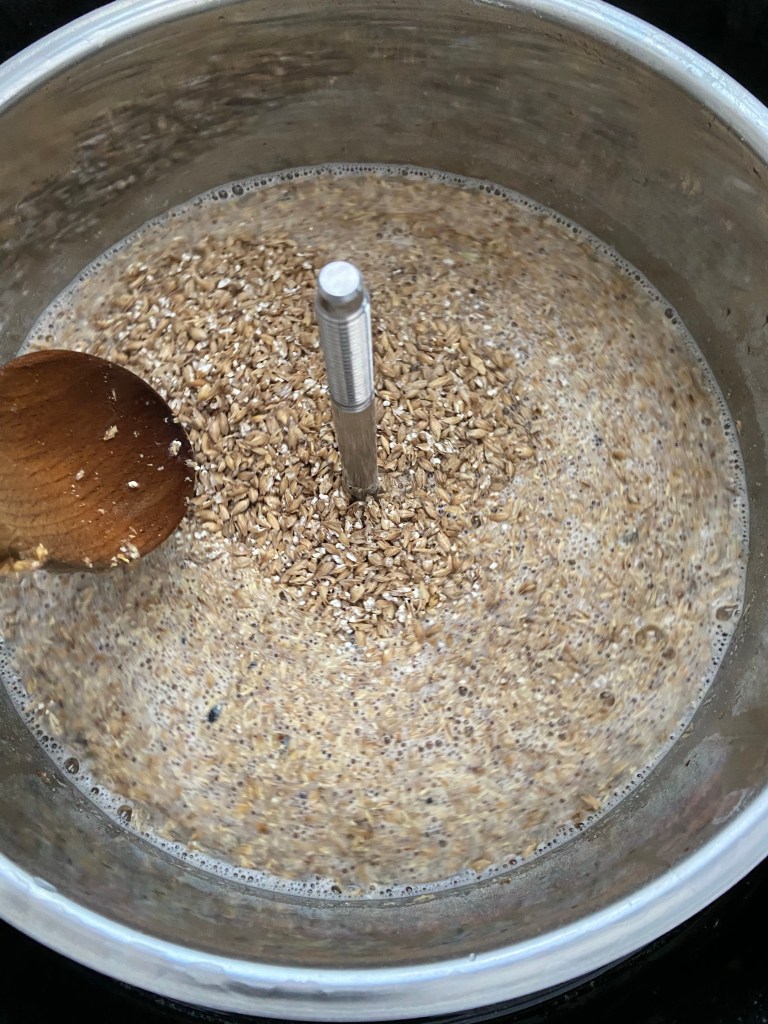
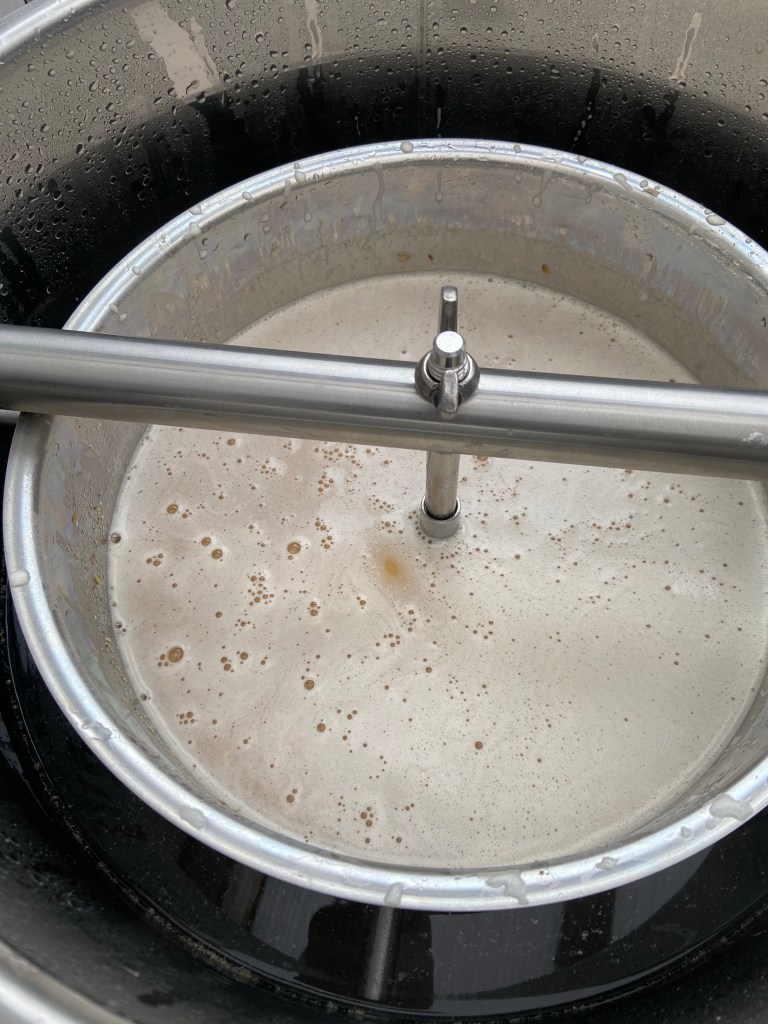
Then we mash or steep the grains for an hour at 65 degrees.
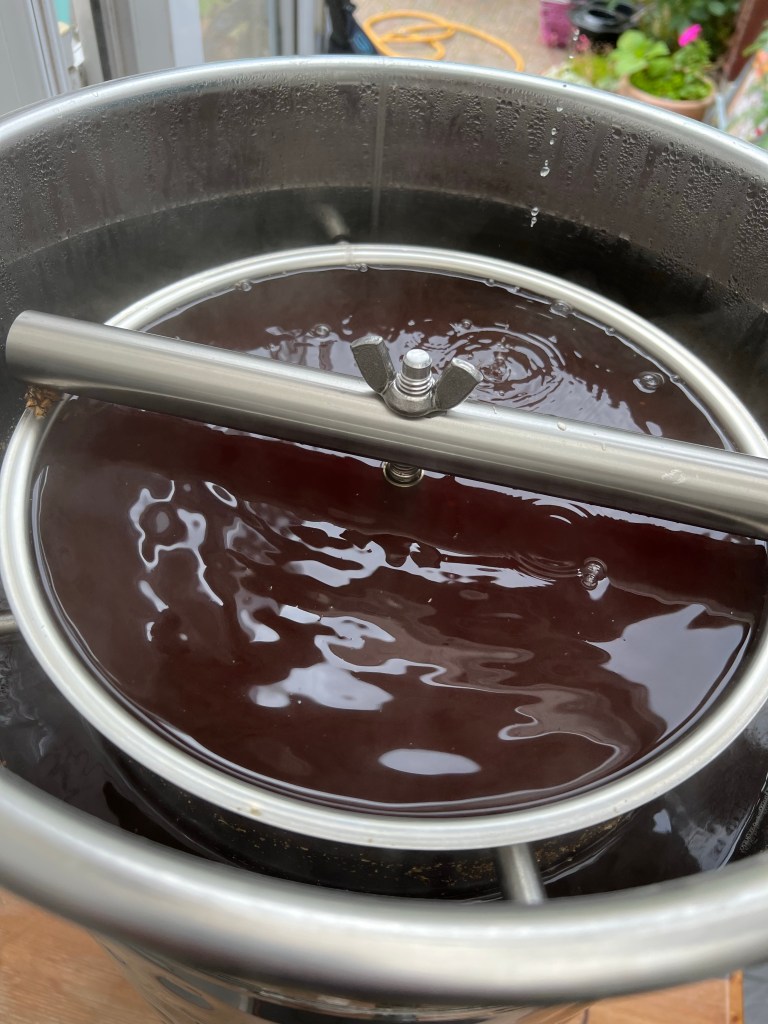
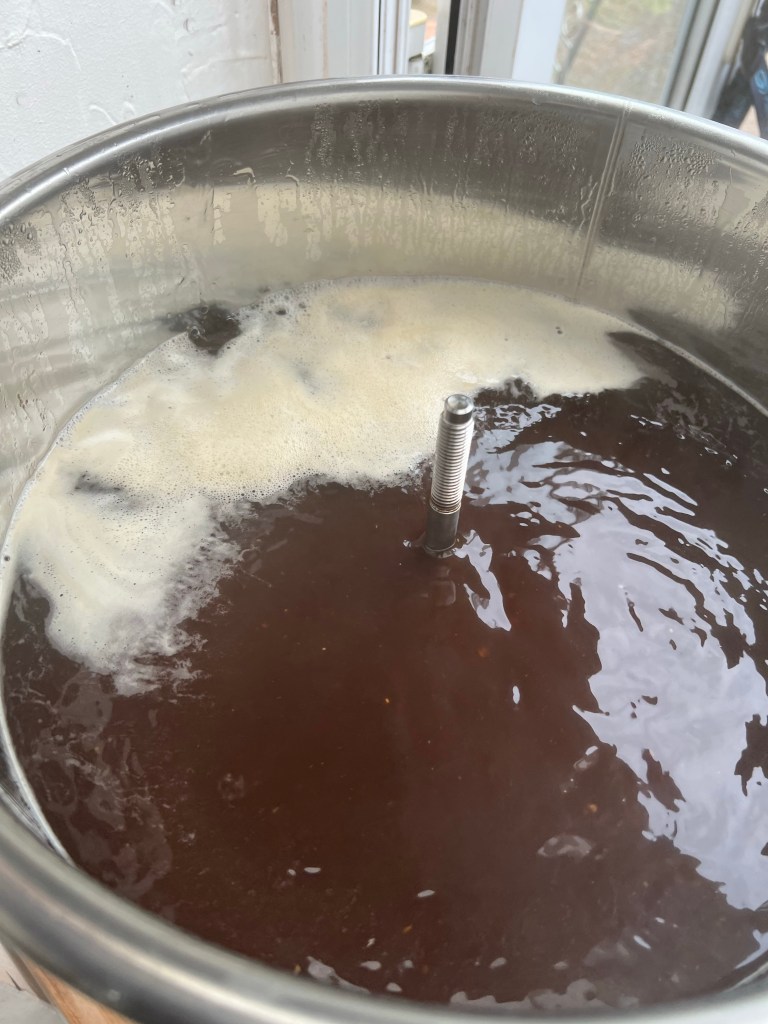
This is the result, the liquid is now referred to as the wort.

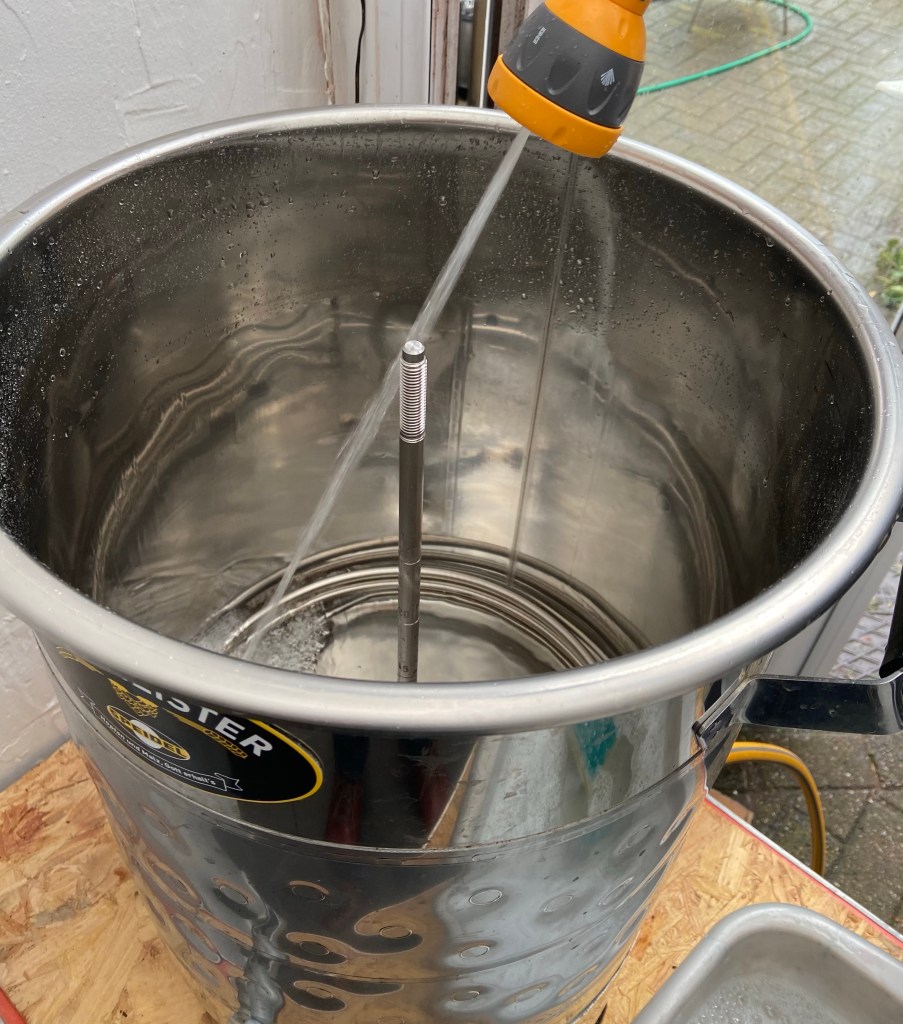
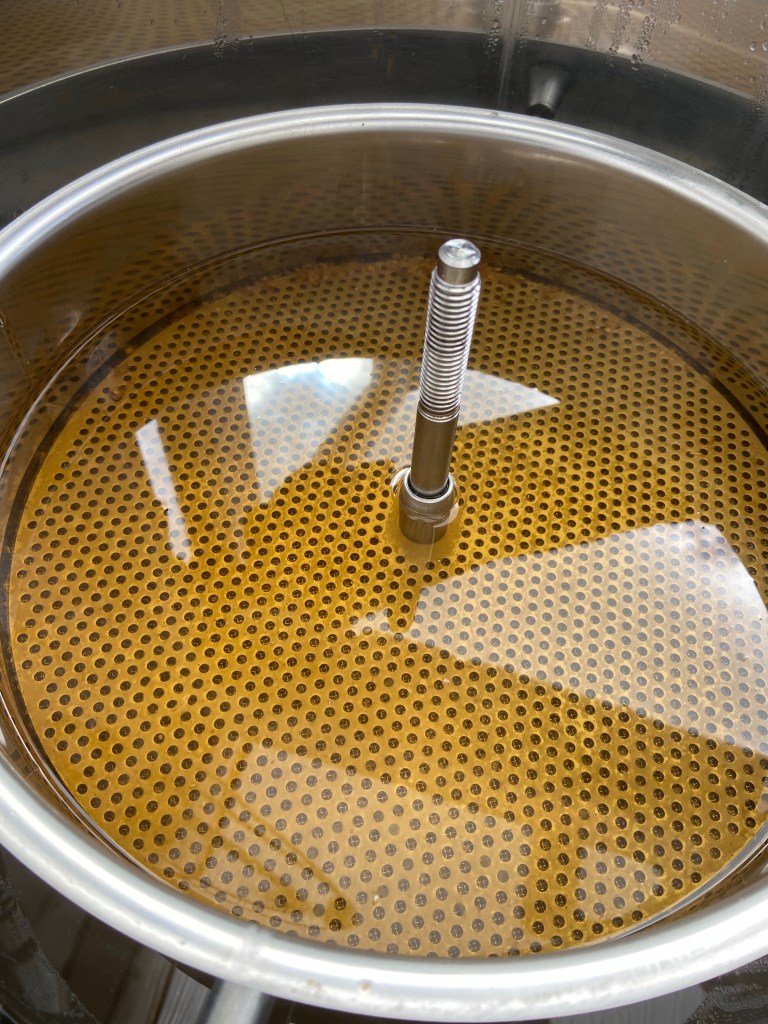
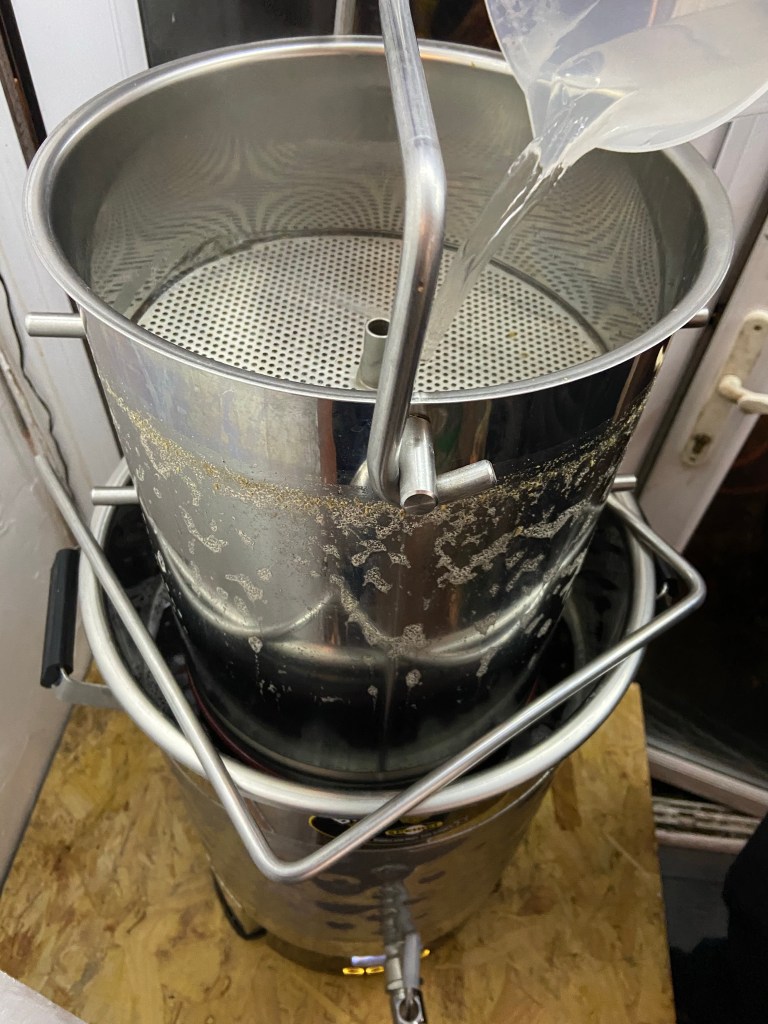
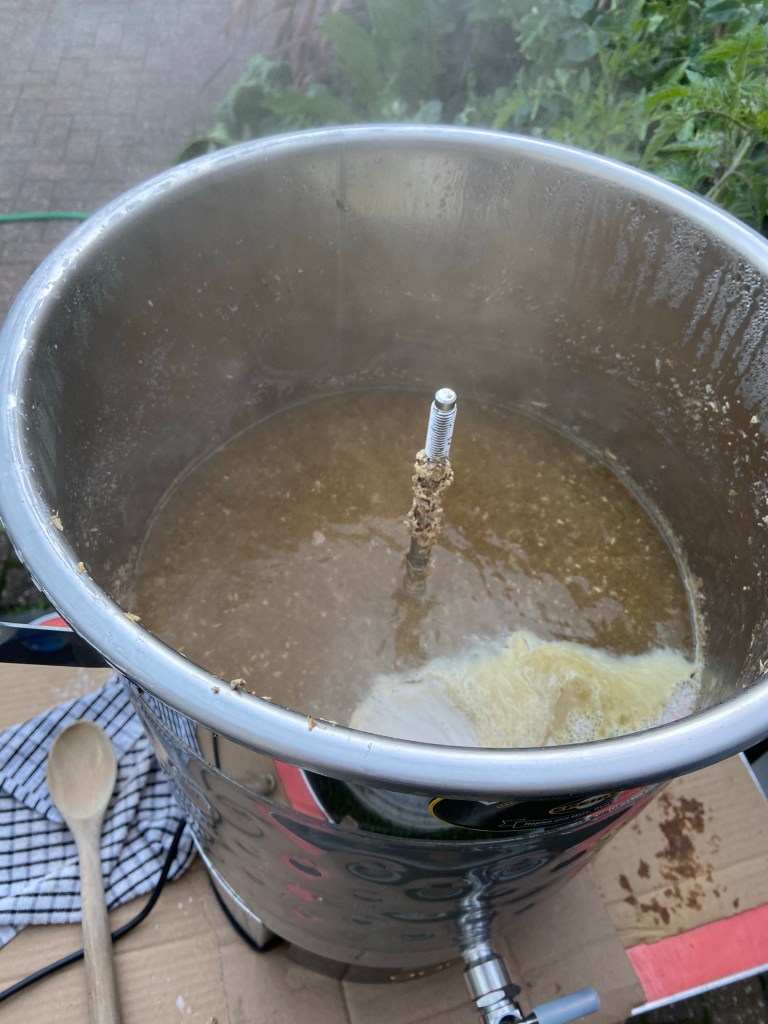
Next, haul it out of the kettle and top up with hot water to replace any liquid lost to evaporation.
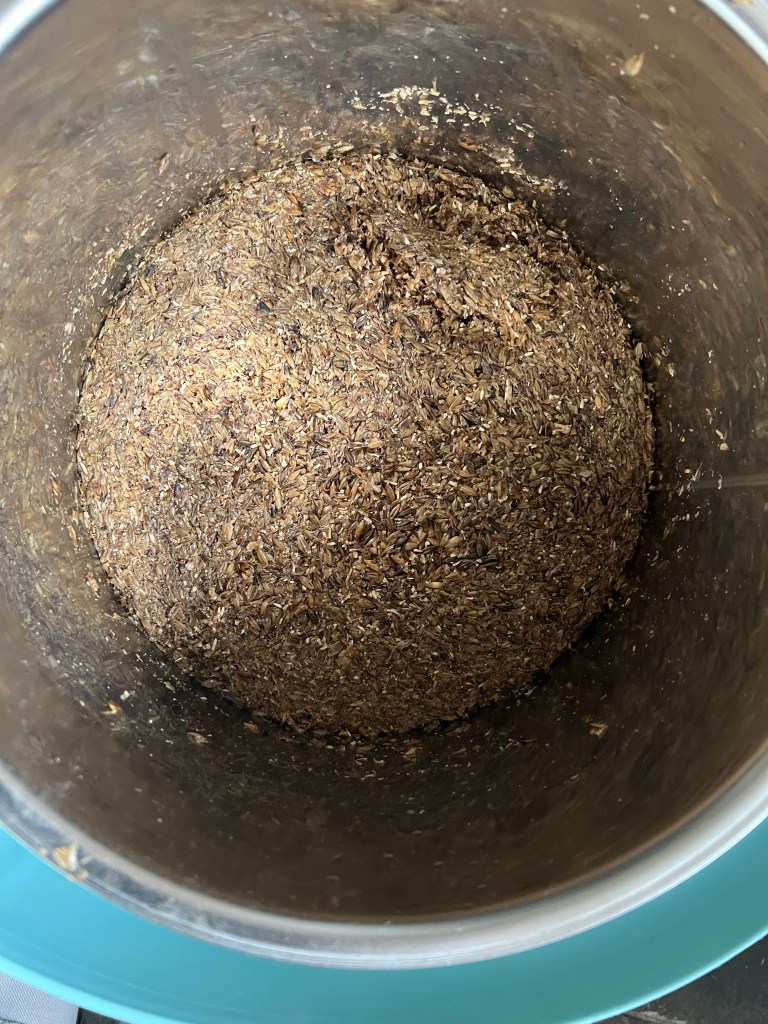
Discard the grains.
We now boil for a further hour.
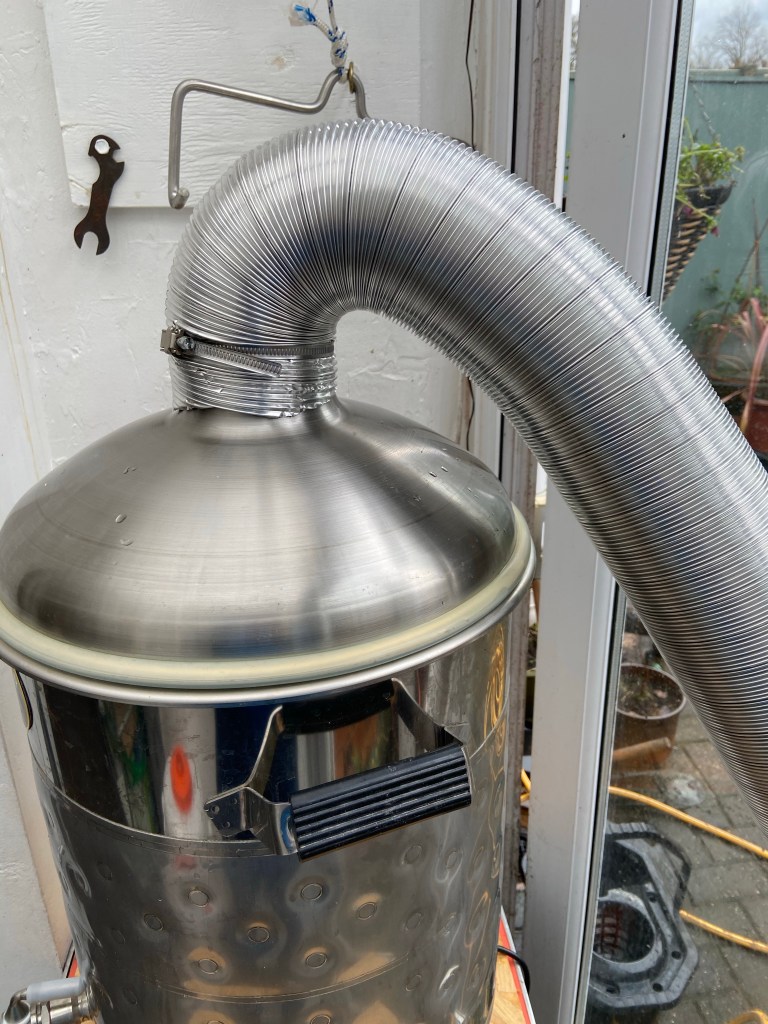
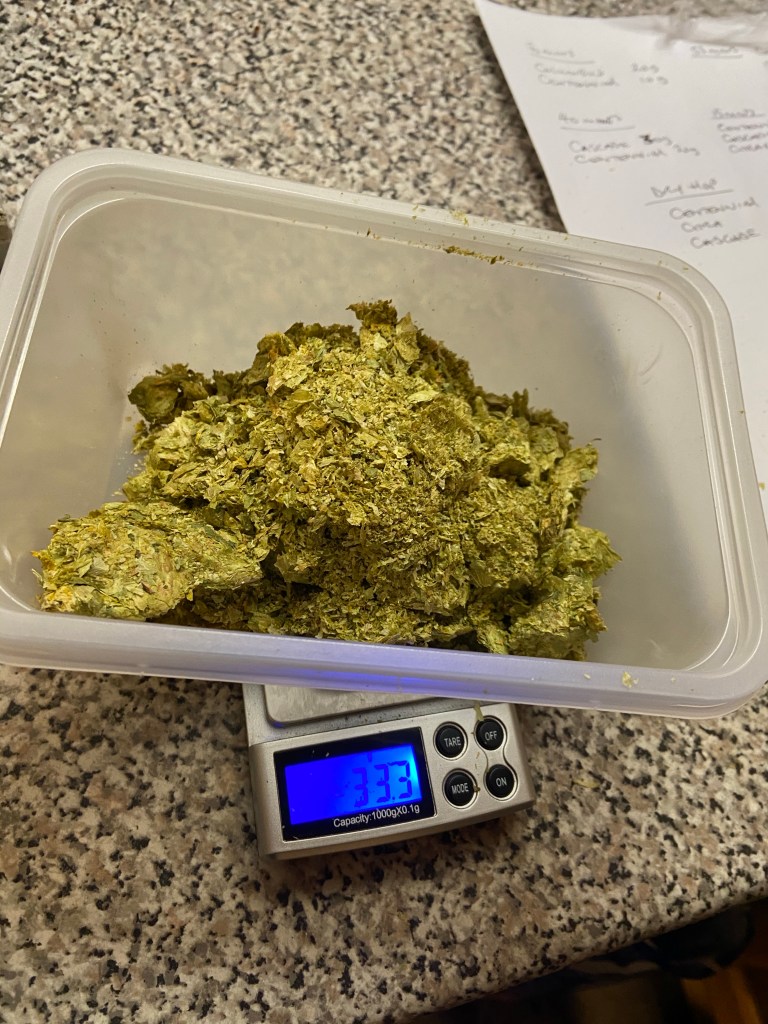
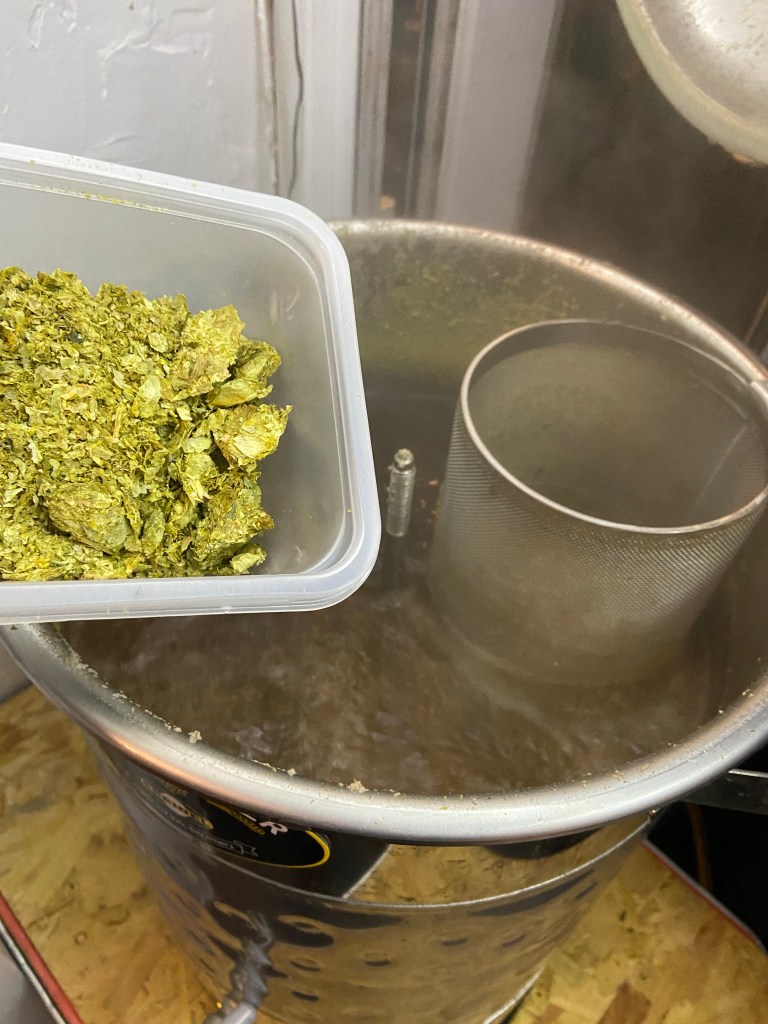
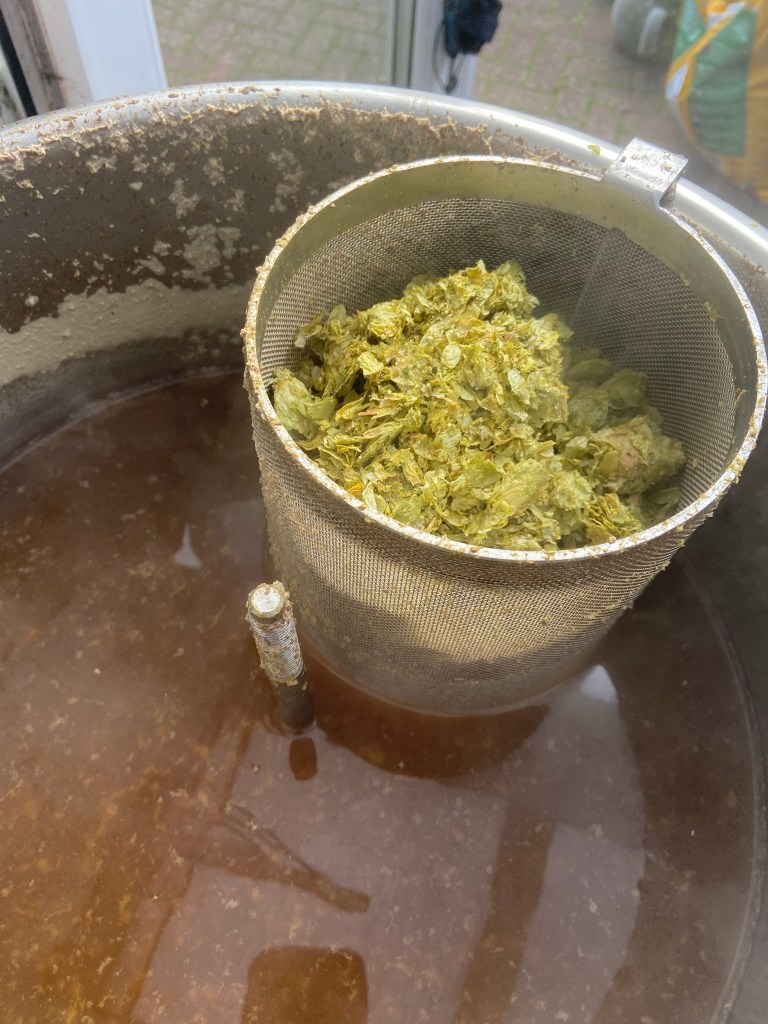
At certain points we add our hops, Styrian Goldings & Brewers Gold…

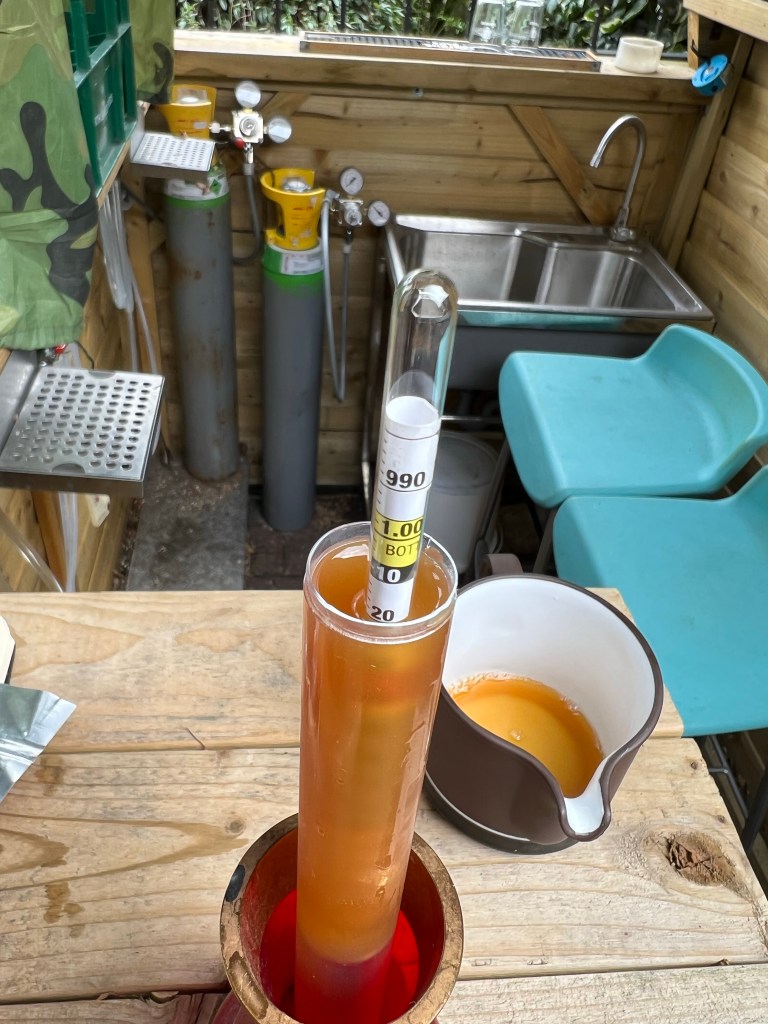
Once the boil is finished we cool down the wort to 20 degrees C and transfer it into a fermenter and add yeast.
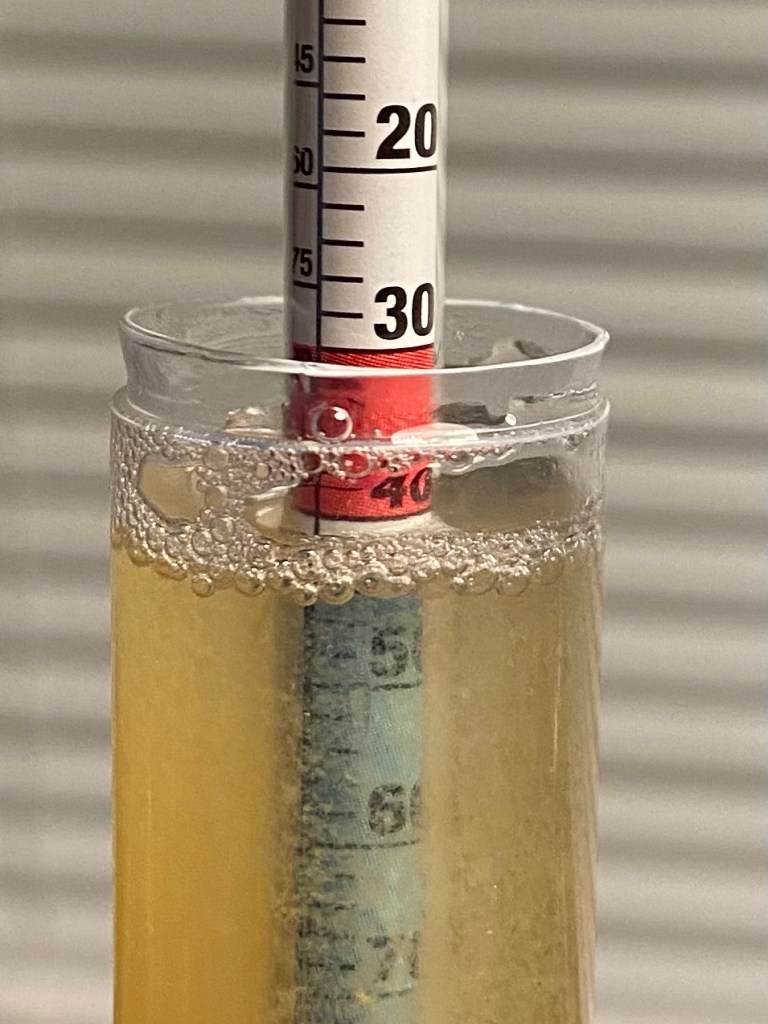
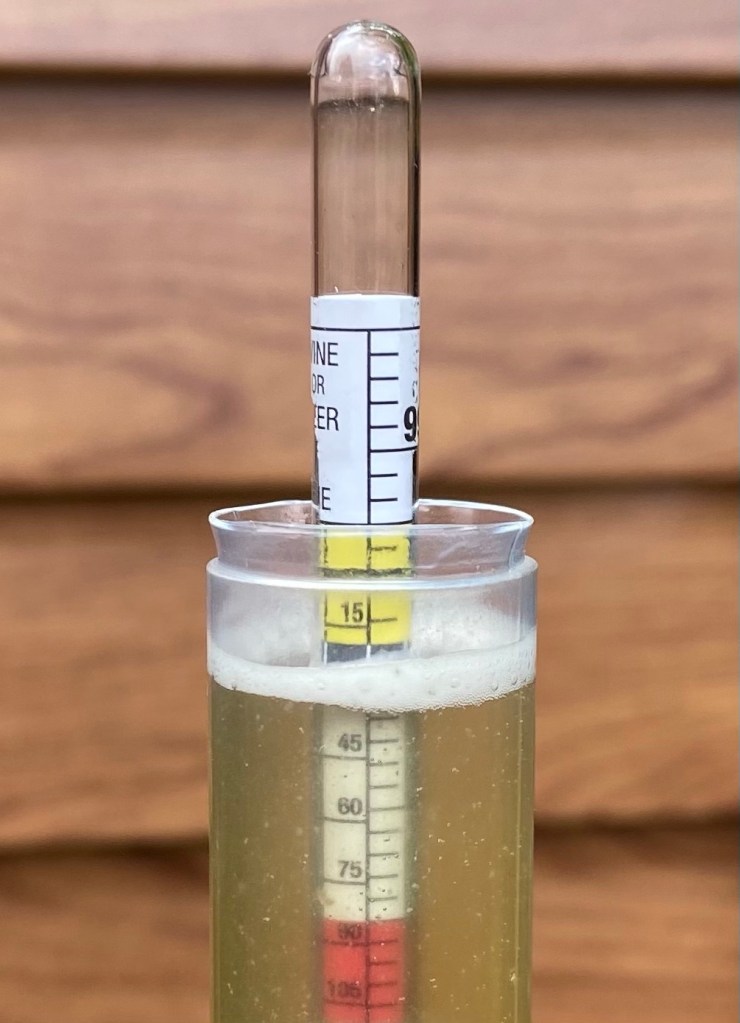
We then took a hydrometer reading of the amount of sugar in the wort…
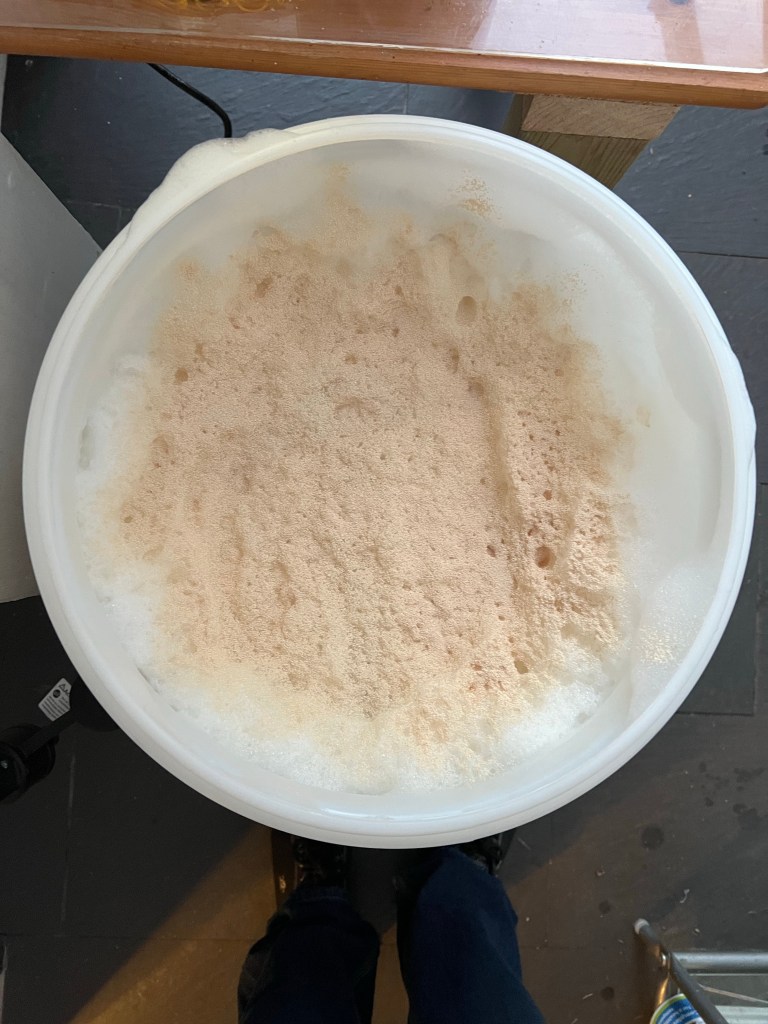
and let the beer ferment for one week.
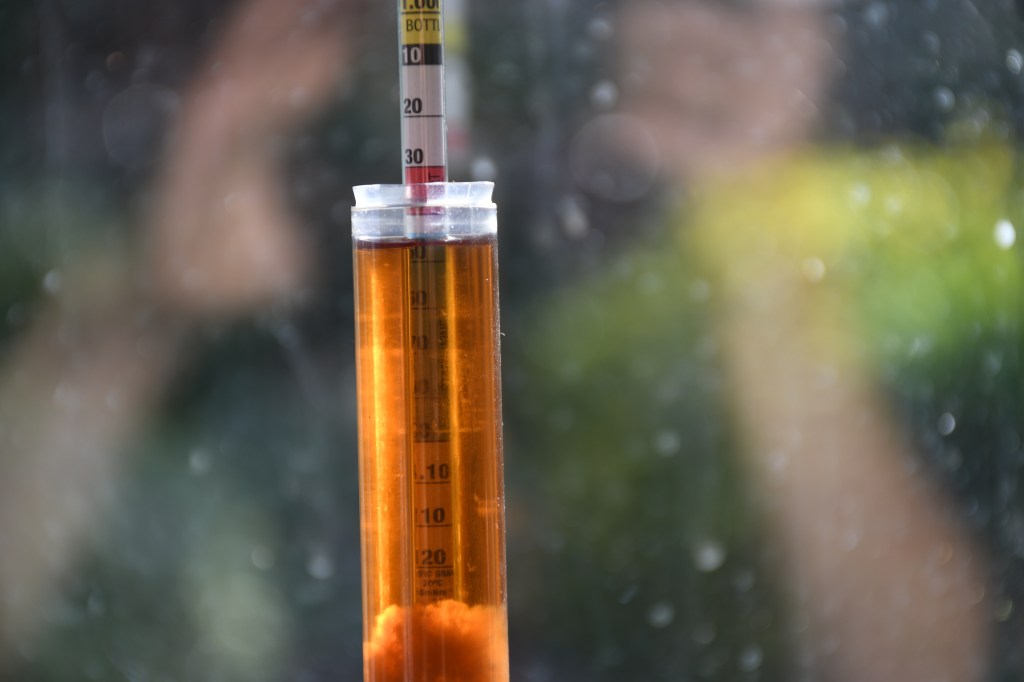
We took a further hydrometer reading after fermentation to see how much alcohol there was in the beer.
Usually the reading is 1.011 for a pale ale but because I kilned the grain at a higher temperature it is now more like a light mild at 3.2% ABV
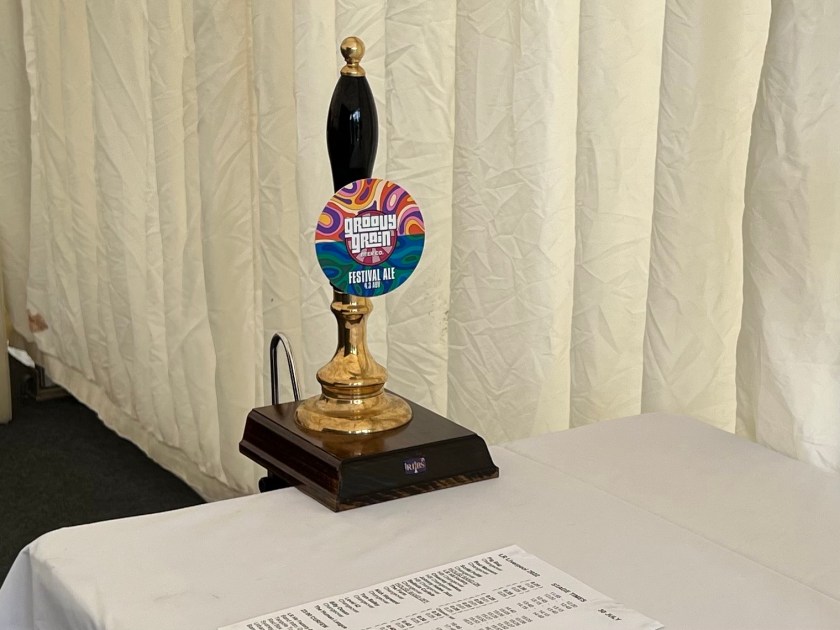
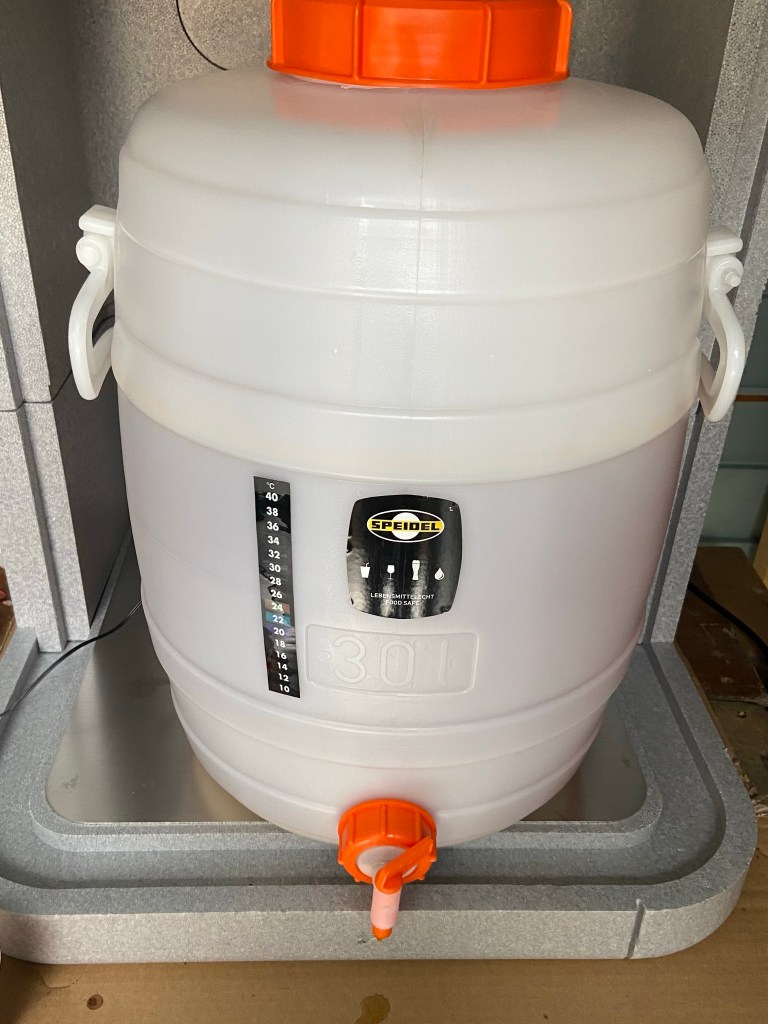
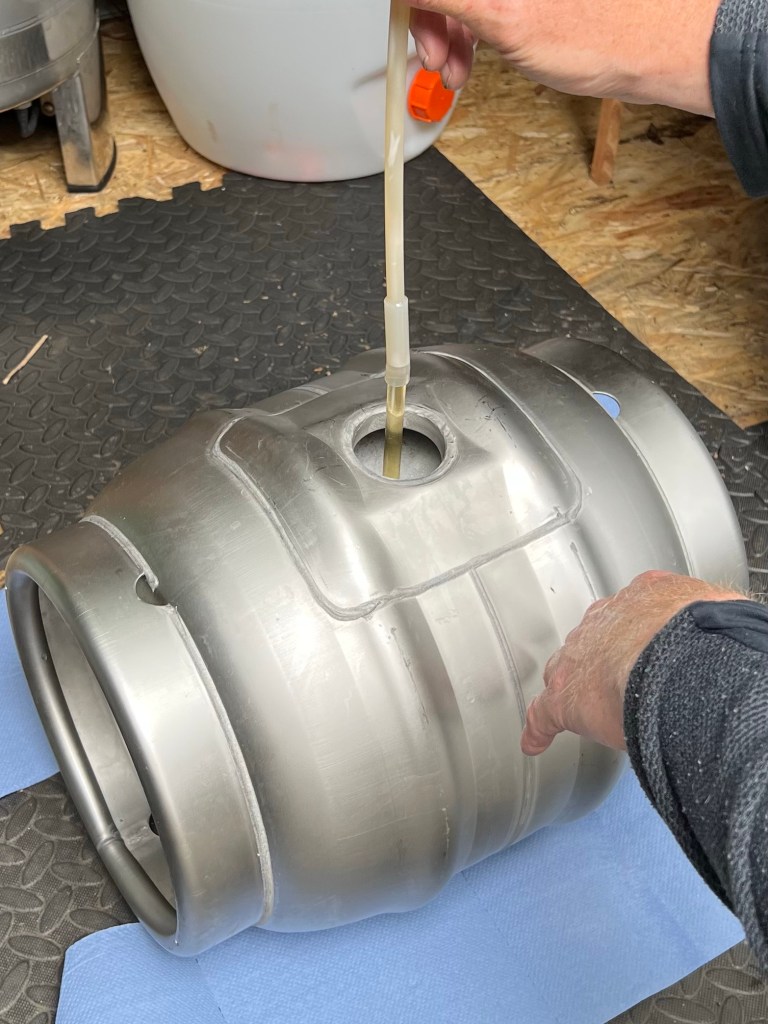
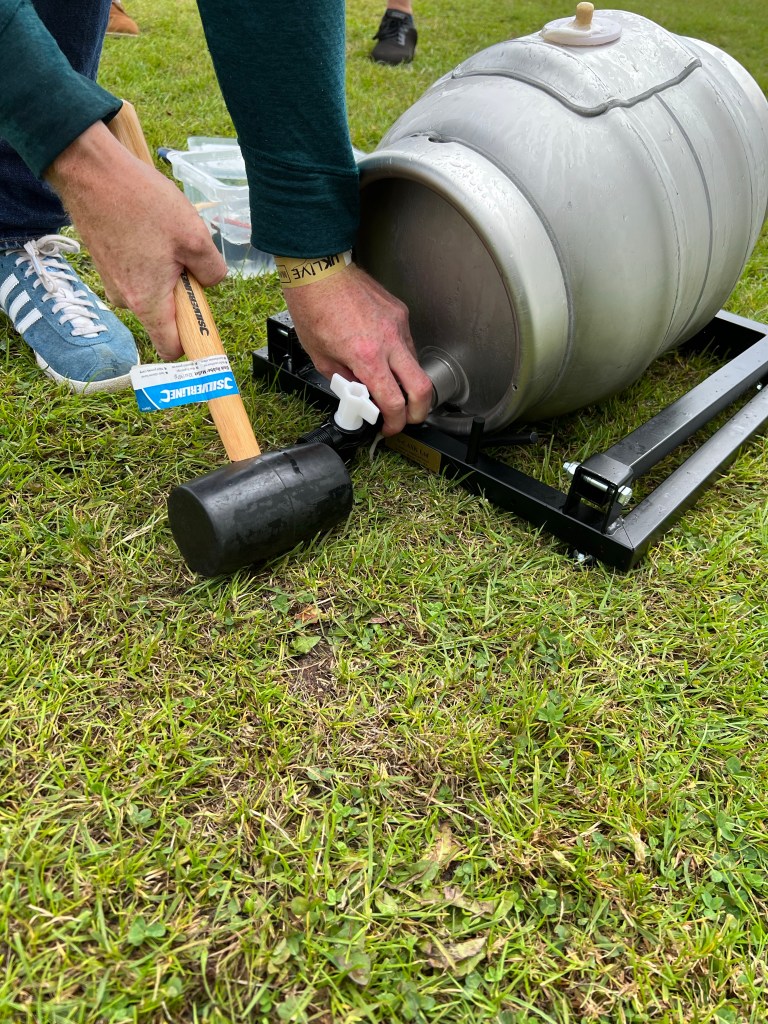
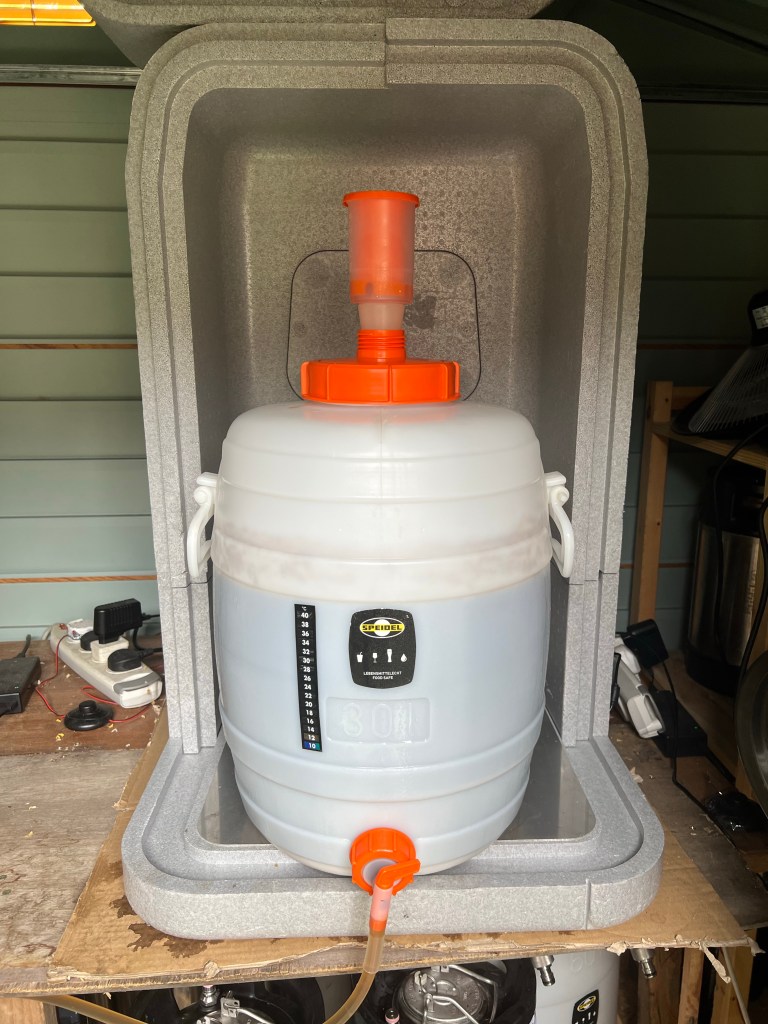
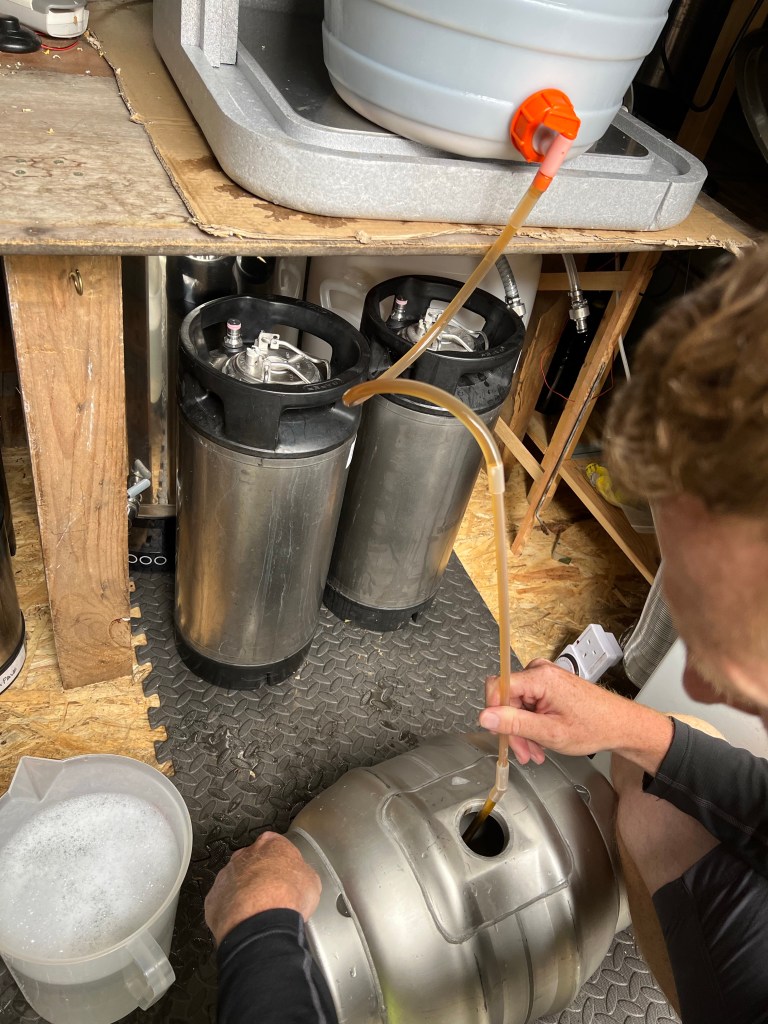
Now we’re ready to transfer the beer into the cask…
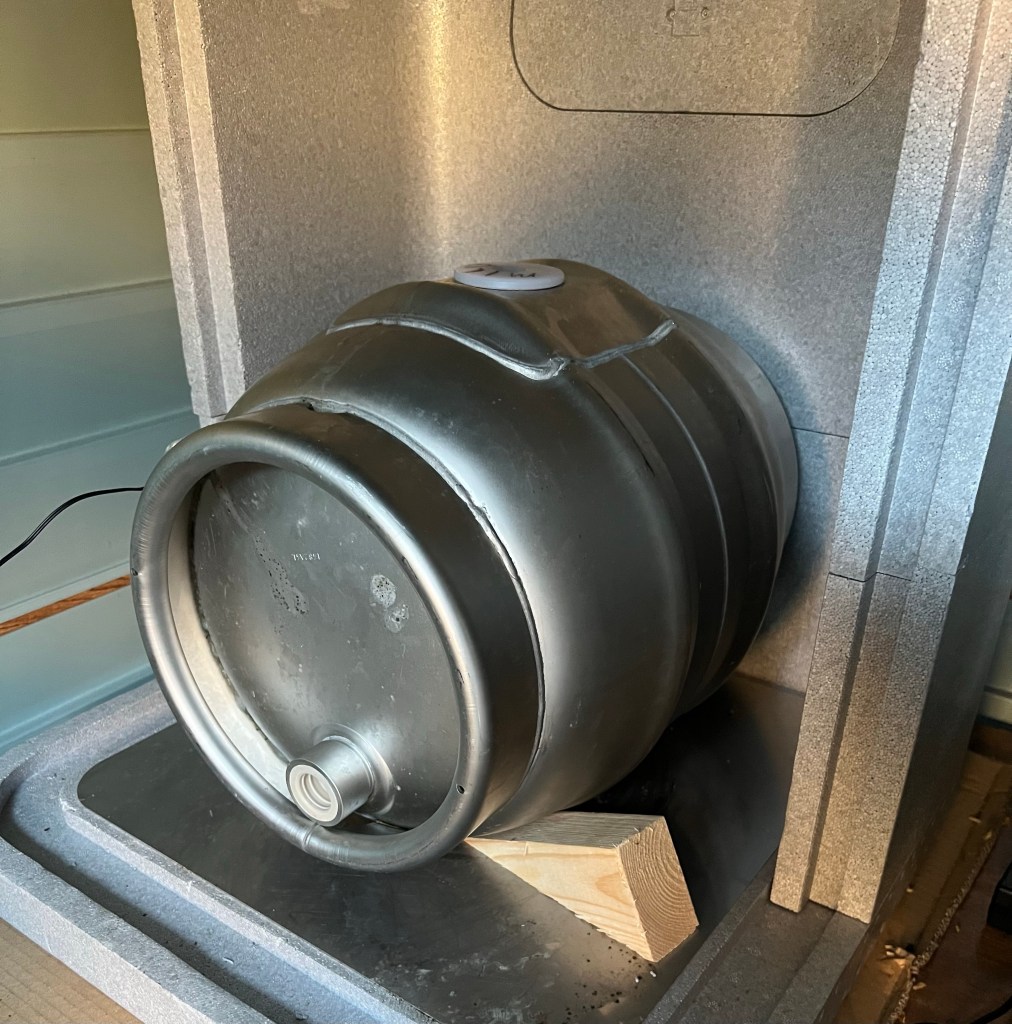
We placed the cask in our temperature controlled vessel and left it for about a month at 12 degrees C.

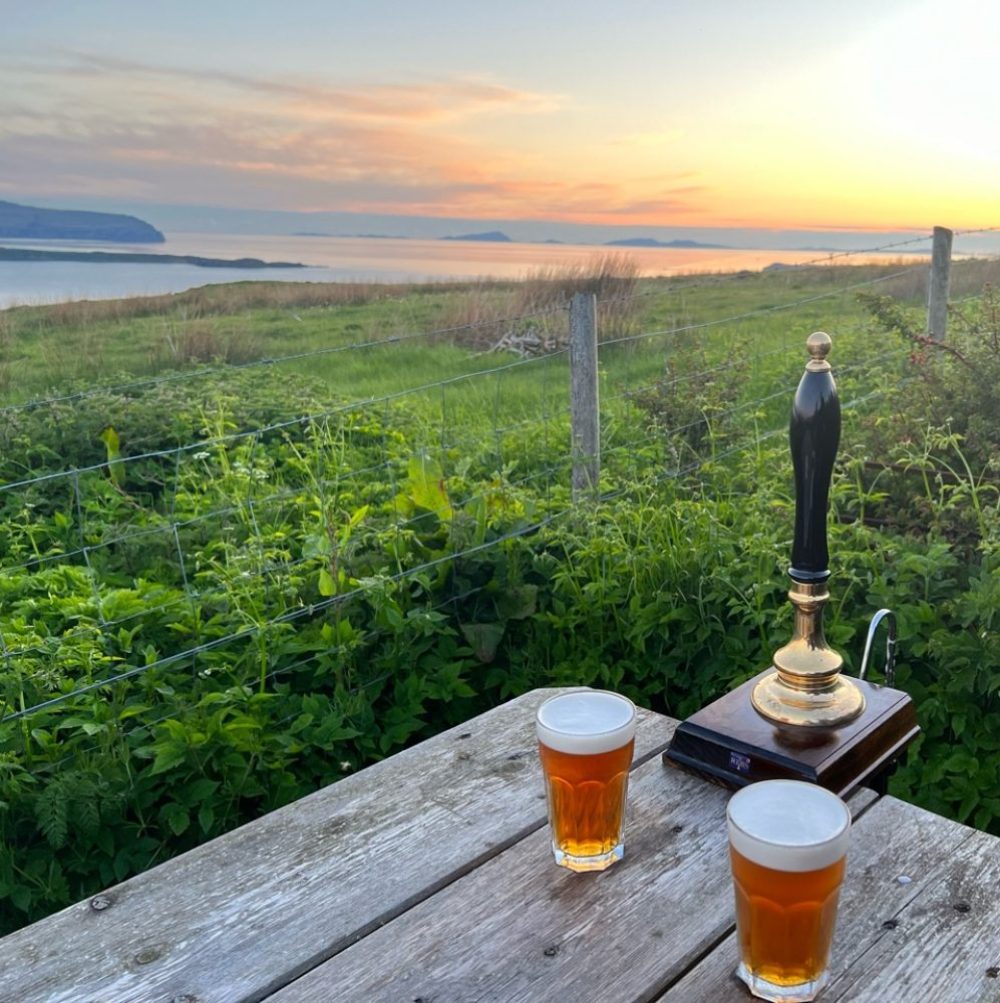
We managed to have enough beer left for just one bottle which we kept for a couple of weeks before opening…
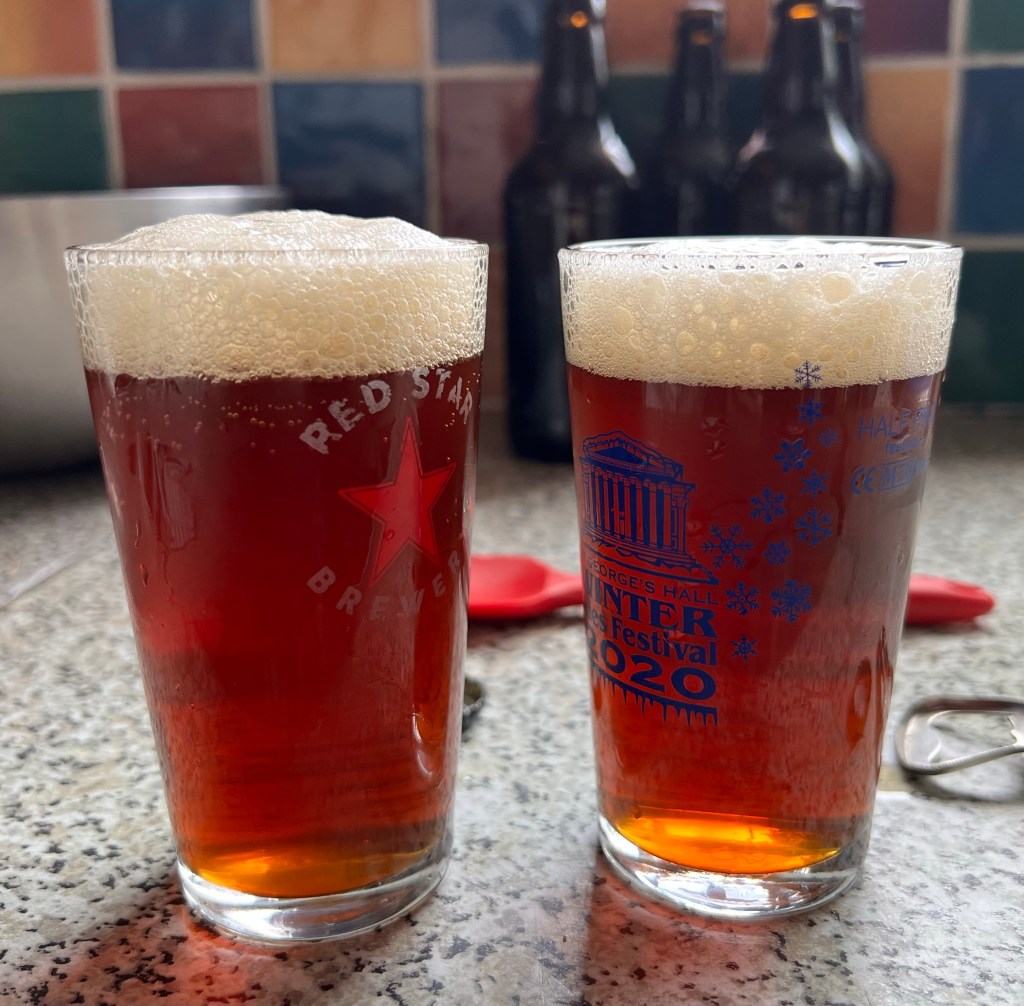
It looked and tasted like a very well known strong ale, it was delicious! Now to find out what Henry thought of it….
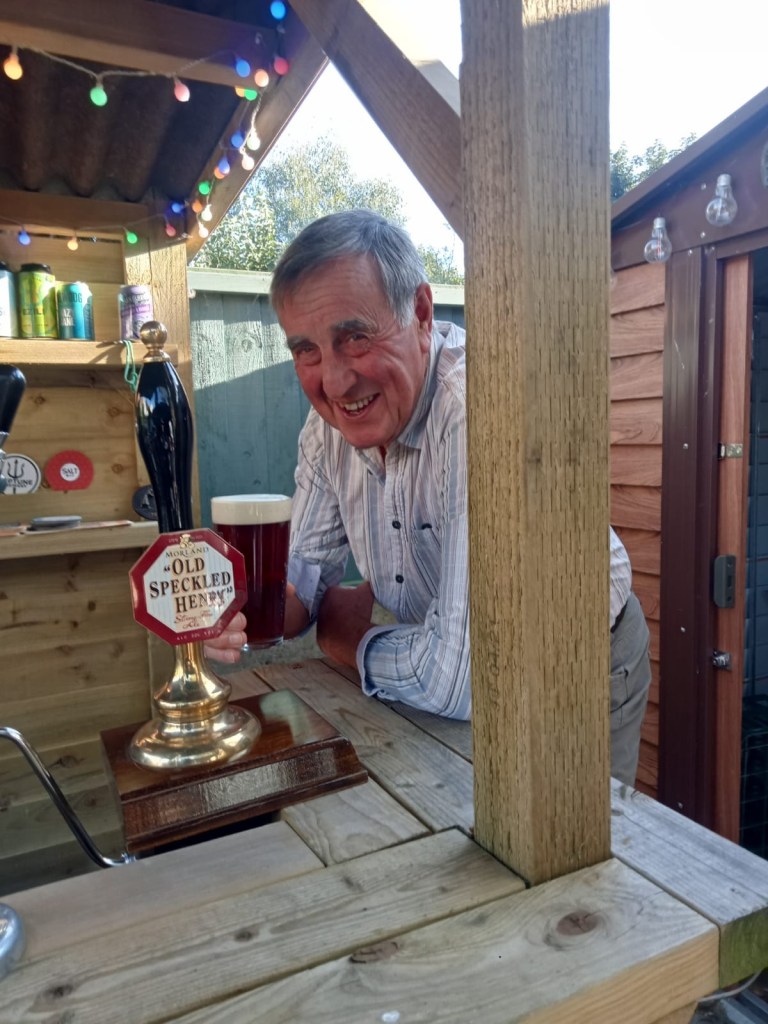
‘Old Speckled Henry’ went down a treat!